1
Recommended: use ?update
Add ?update to the end of any live page URL. Example: https://www.yourwebsite.com/about?update

Website Marketer Handbook
Step-by-step guide for updating website content safely in Webflow.
1.0
Once the Webflow invitation is accepted, use either option below to access and update the website.
Add ?update to the end of any live page URL. Example: https://www.yourwebsite.com/about?update
Log in to Webflow and select the Save a Child’s Heart Workspace from the Workspace menu in the top-left corner.
Open the Save a Child’s Heart site and select Open in Webflow. The live-site ?update method can also be used at any time.
Your Webflow role controls which tools are available. Most users will have Content Editor or Marketer access.
Training
Start with the short video, then use the role guide that matches your access.
Resources
Add this site's Claude Skill so any connected assistant already knows the CMS structure, editing rules, and access limits.
2.0
Webflow organizes this website into three page types. Choose the correct type before editing or creating content.
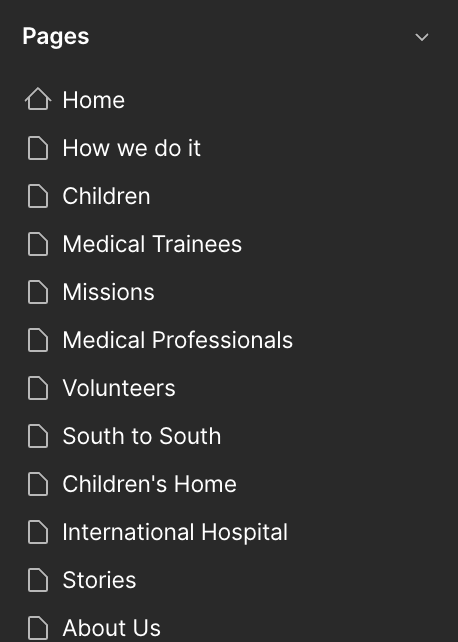
2.1 Static pages
Static pages have their own content and layout. Editing one static page only changes that page.
Examples: Home, About Us, Volunteers, International Hospital
Best for: Main website pages, one-off pages, and general information.
2.2 CMS Collection pages
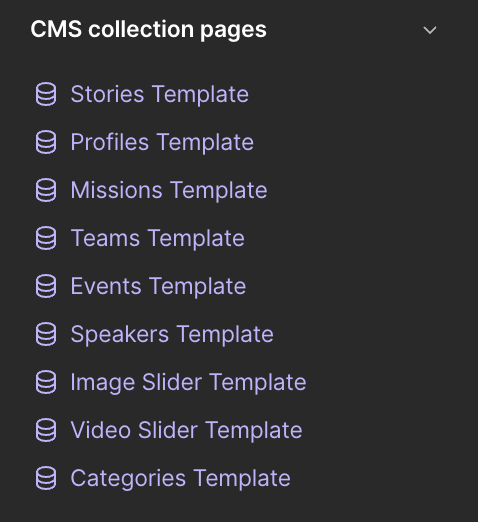
CMS Collection pages use one shared template.
Each CMS item supplies different text, images, and information.
Examples: Stories, Profiles, Missions, Events, and Speakers
Important: Update the CMS item rather than changing the Collection Template layout.
2.3 Static page templates
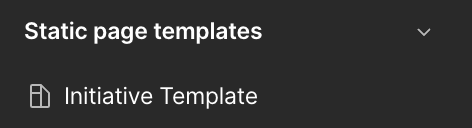
Static page templates are pre-built pages that can be duplicated when creating a new marketing or information page.
Examples: How We Do It Template and Initiative Template
Workflow: Duplicate the correct template, rename it, and replace the content using approved components.
3.0
Webflow has three main working areas: the left panel, the center canvas, and the right panel. The top bar provides access to Build, CMS, Insights, preview, and publishing.

Build edits page content and approved components. CMS manages Stories, Profiles, Missions, Events, and other structured content. Insights shows performance data when available. Use Preview to review the page and Publish to make approved changes live.
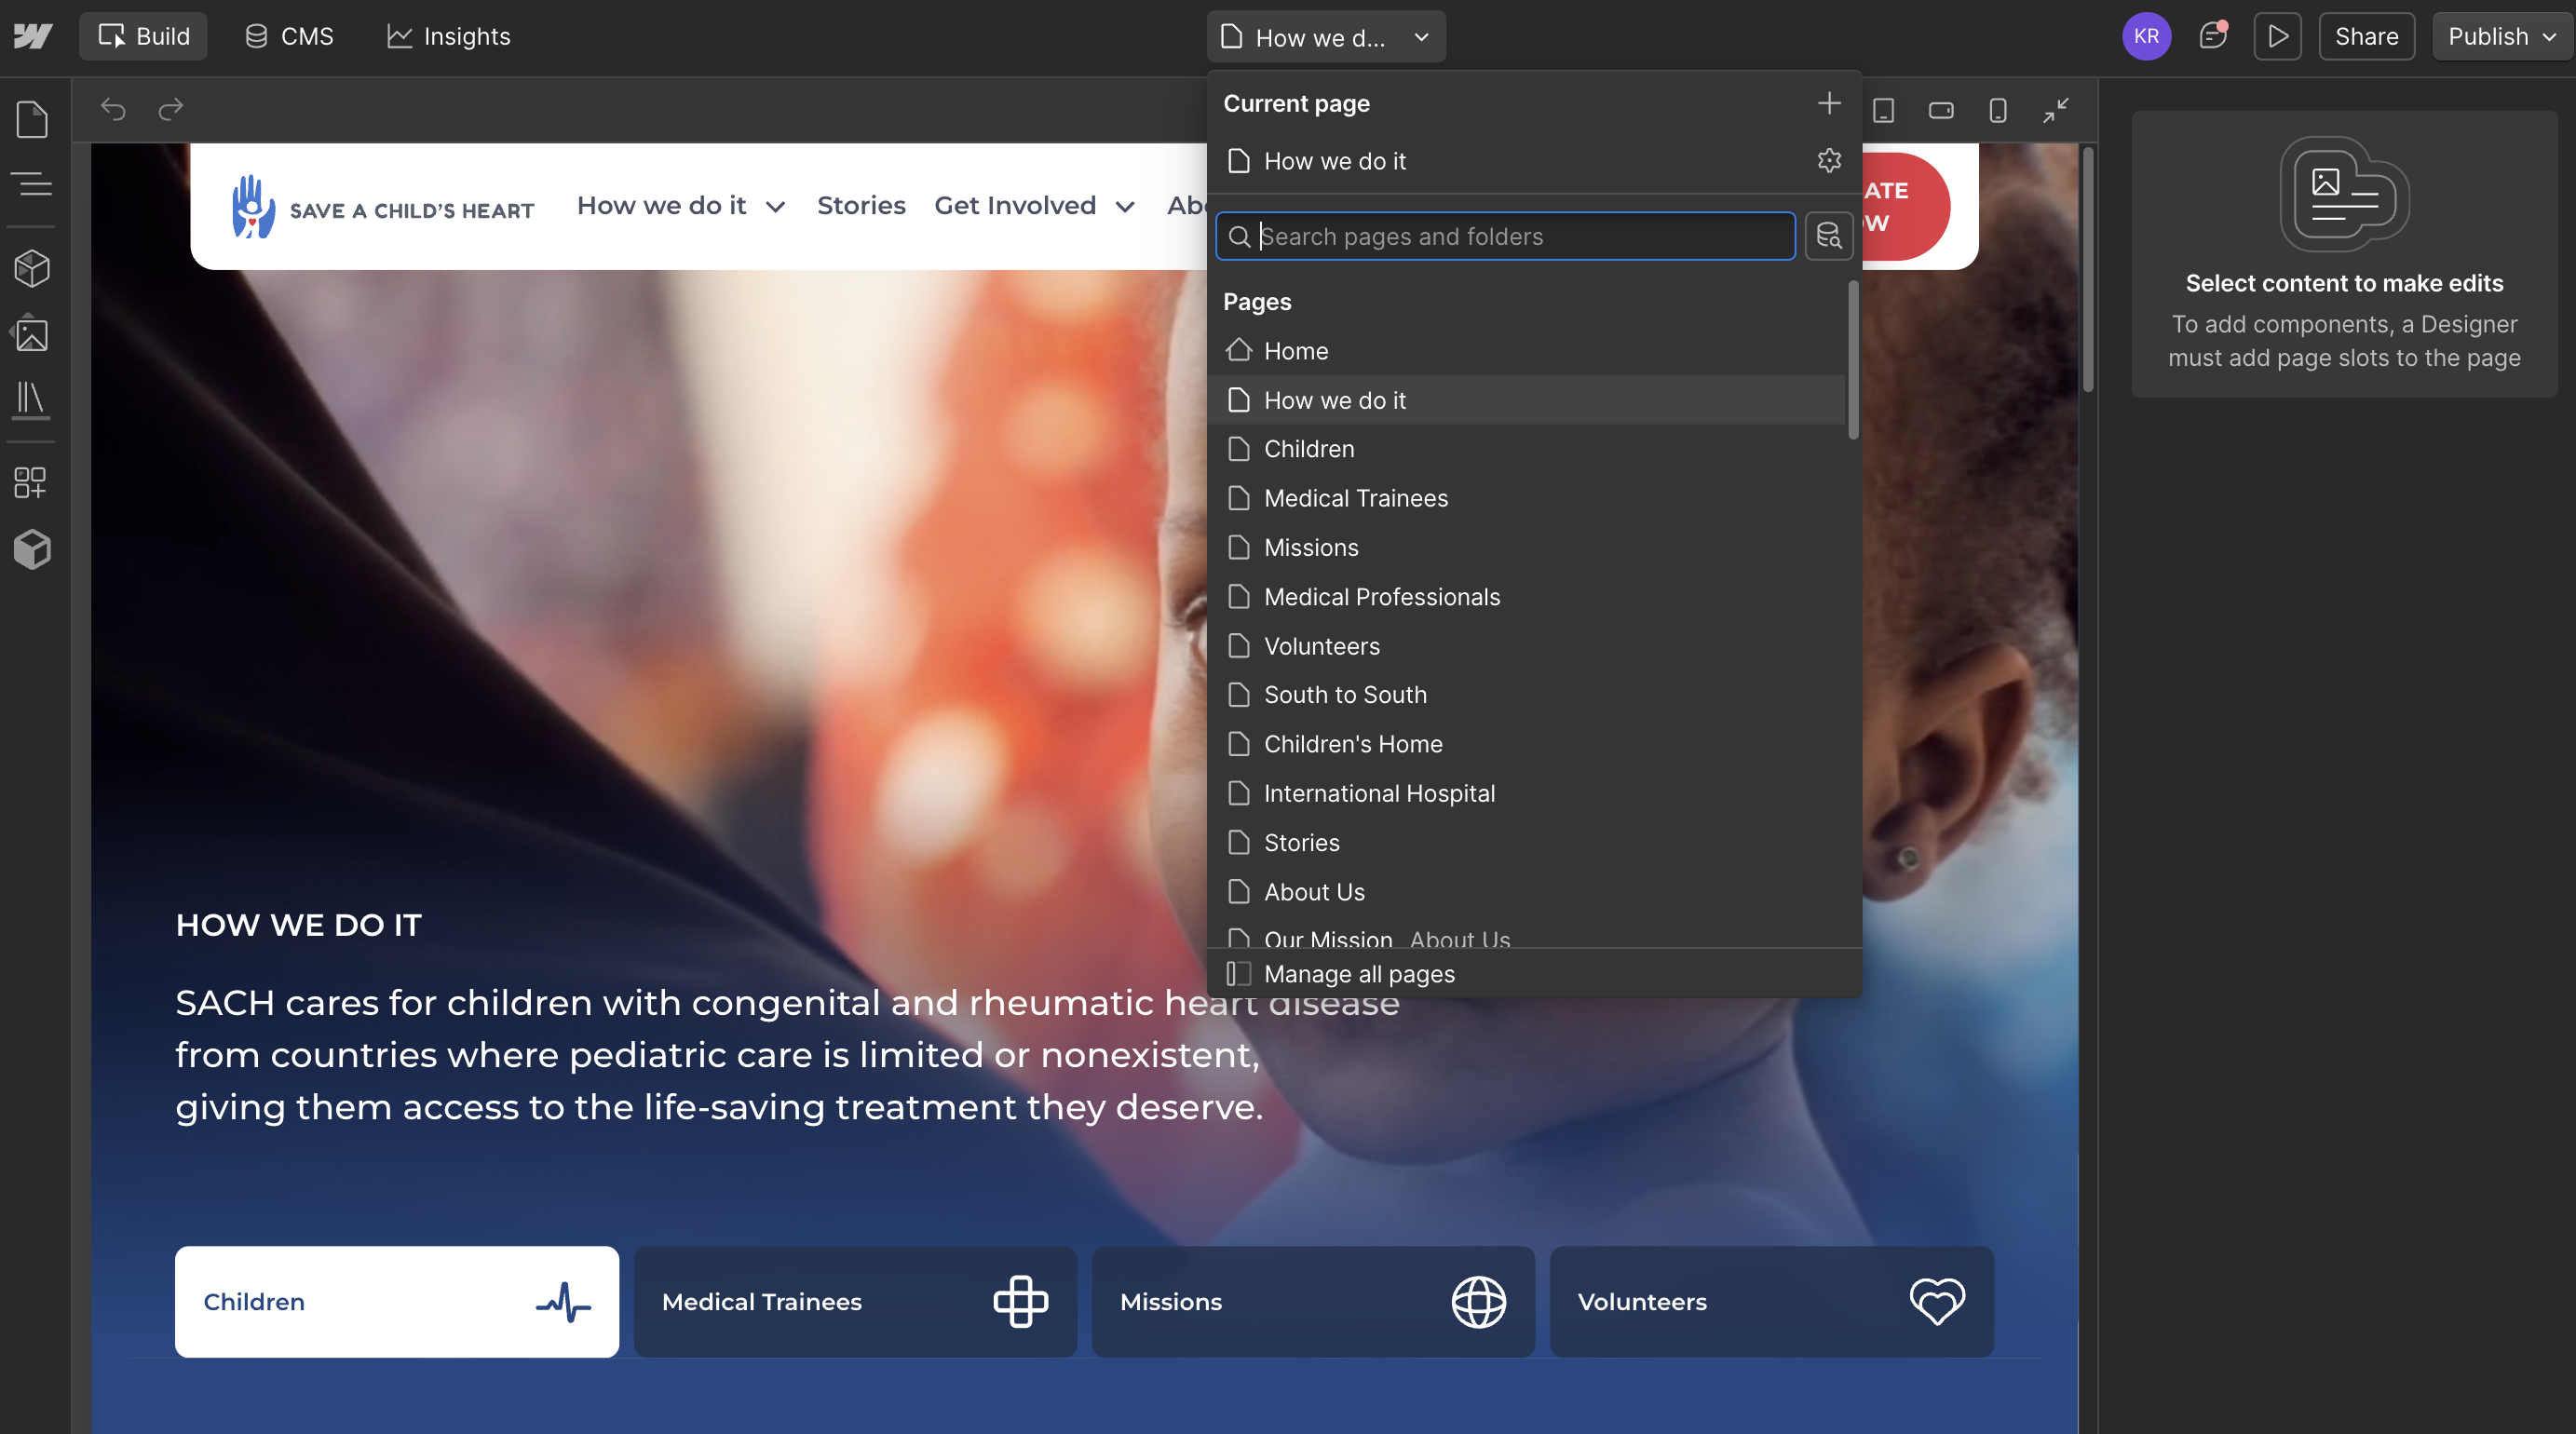
Pages opens static pages, CMS templates, and approved page templates.
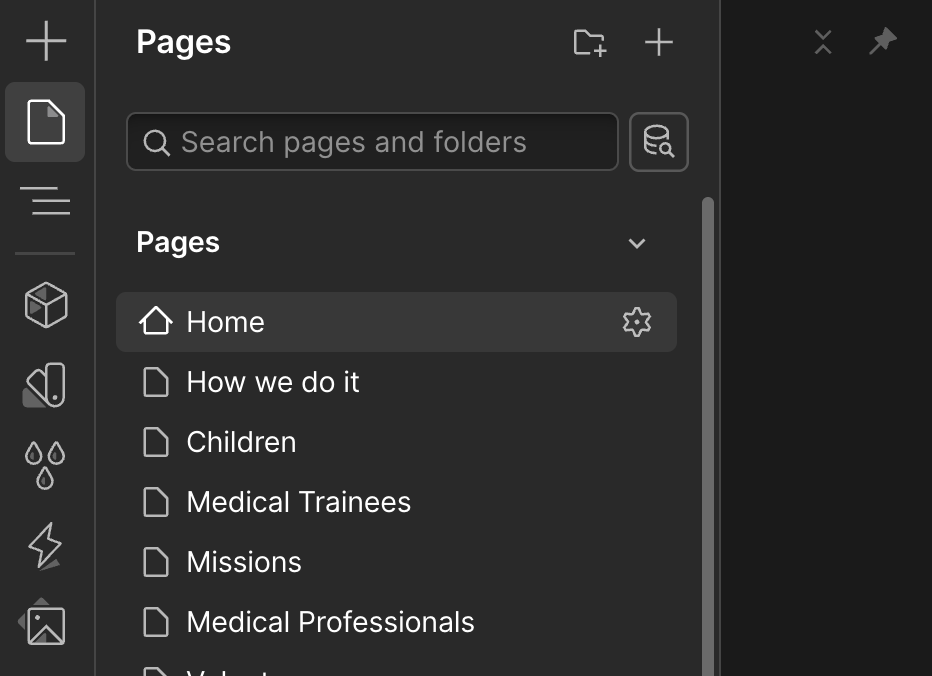
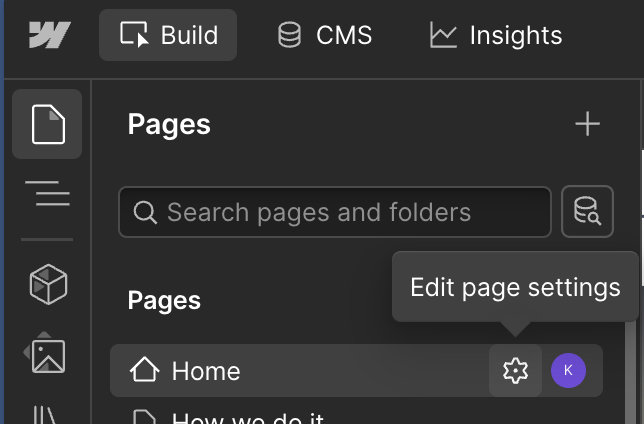
Pages Settings — click the gear icon when hovering each page name to access page settings. Here you can add SEO settings, meta description, custom code, and other settings.
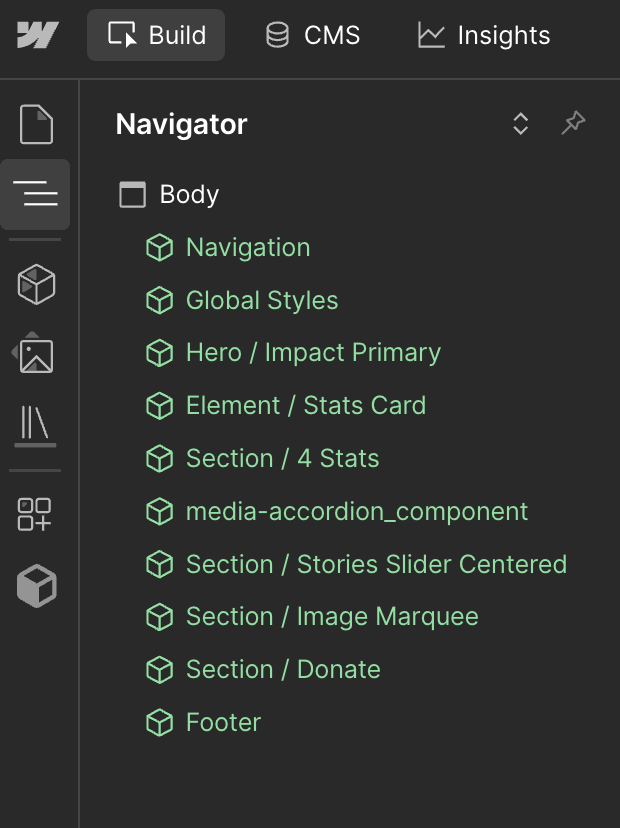
Navigator shows the structure of the current page. Avoid moving or deleting elements unless authorized. Navigator is used in build mode to build pages with approved components.
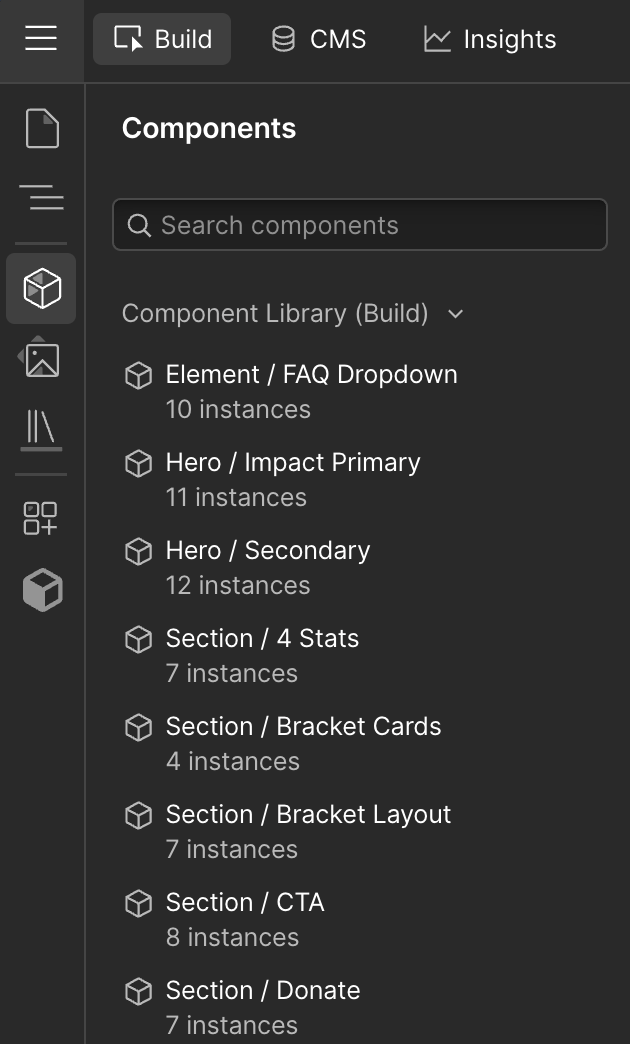
Components contains approved reusable sections from the Component Library (Build).
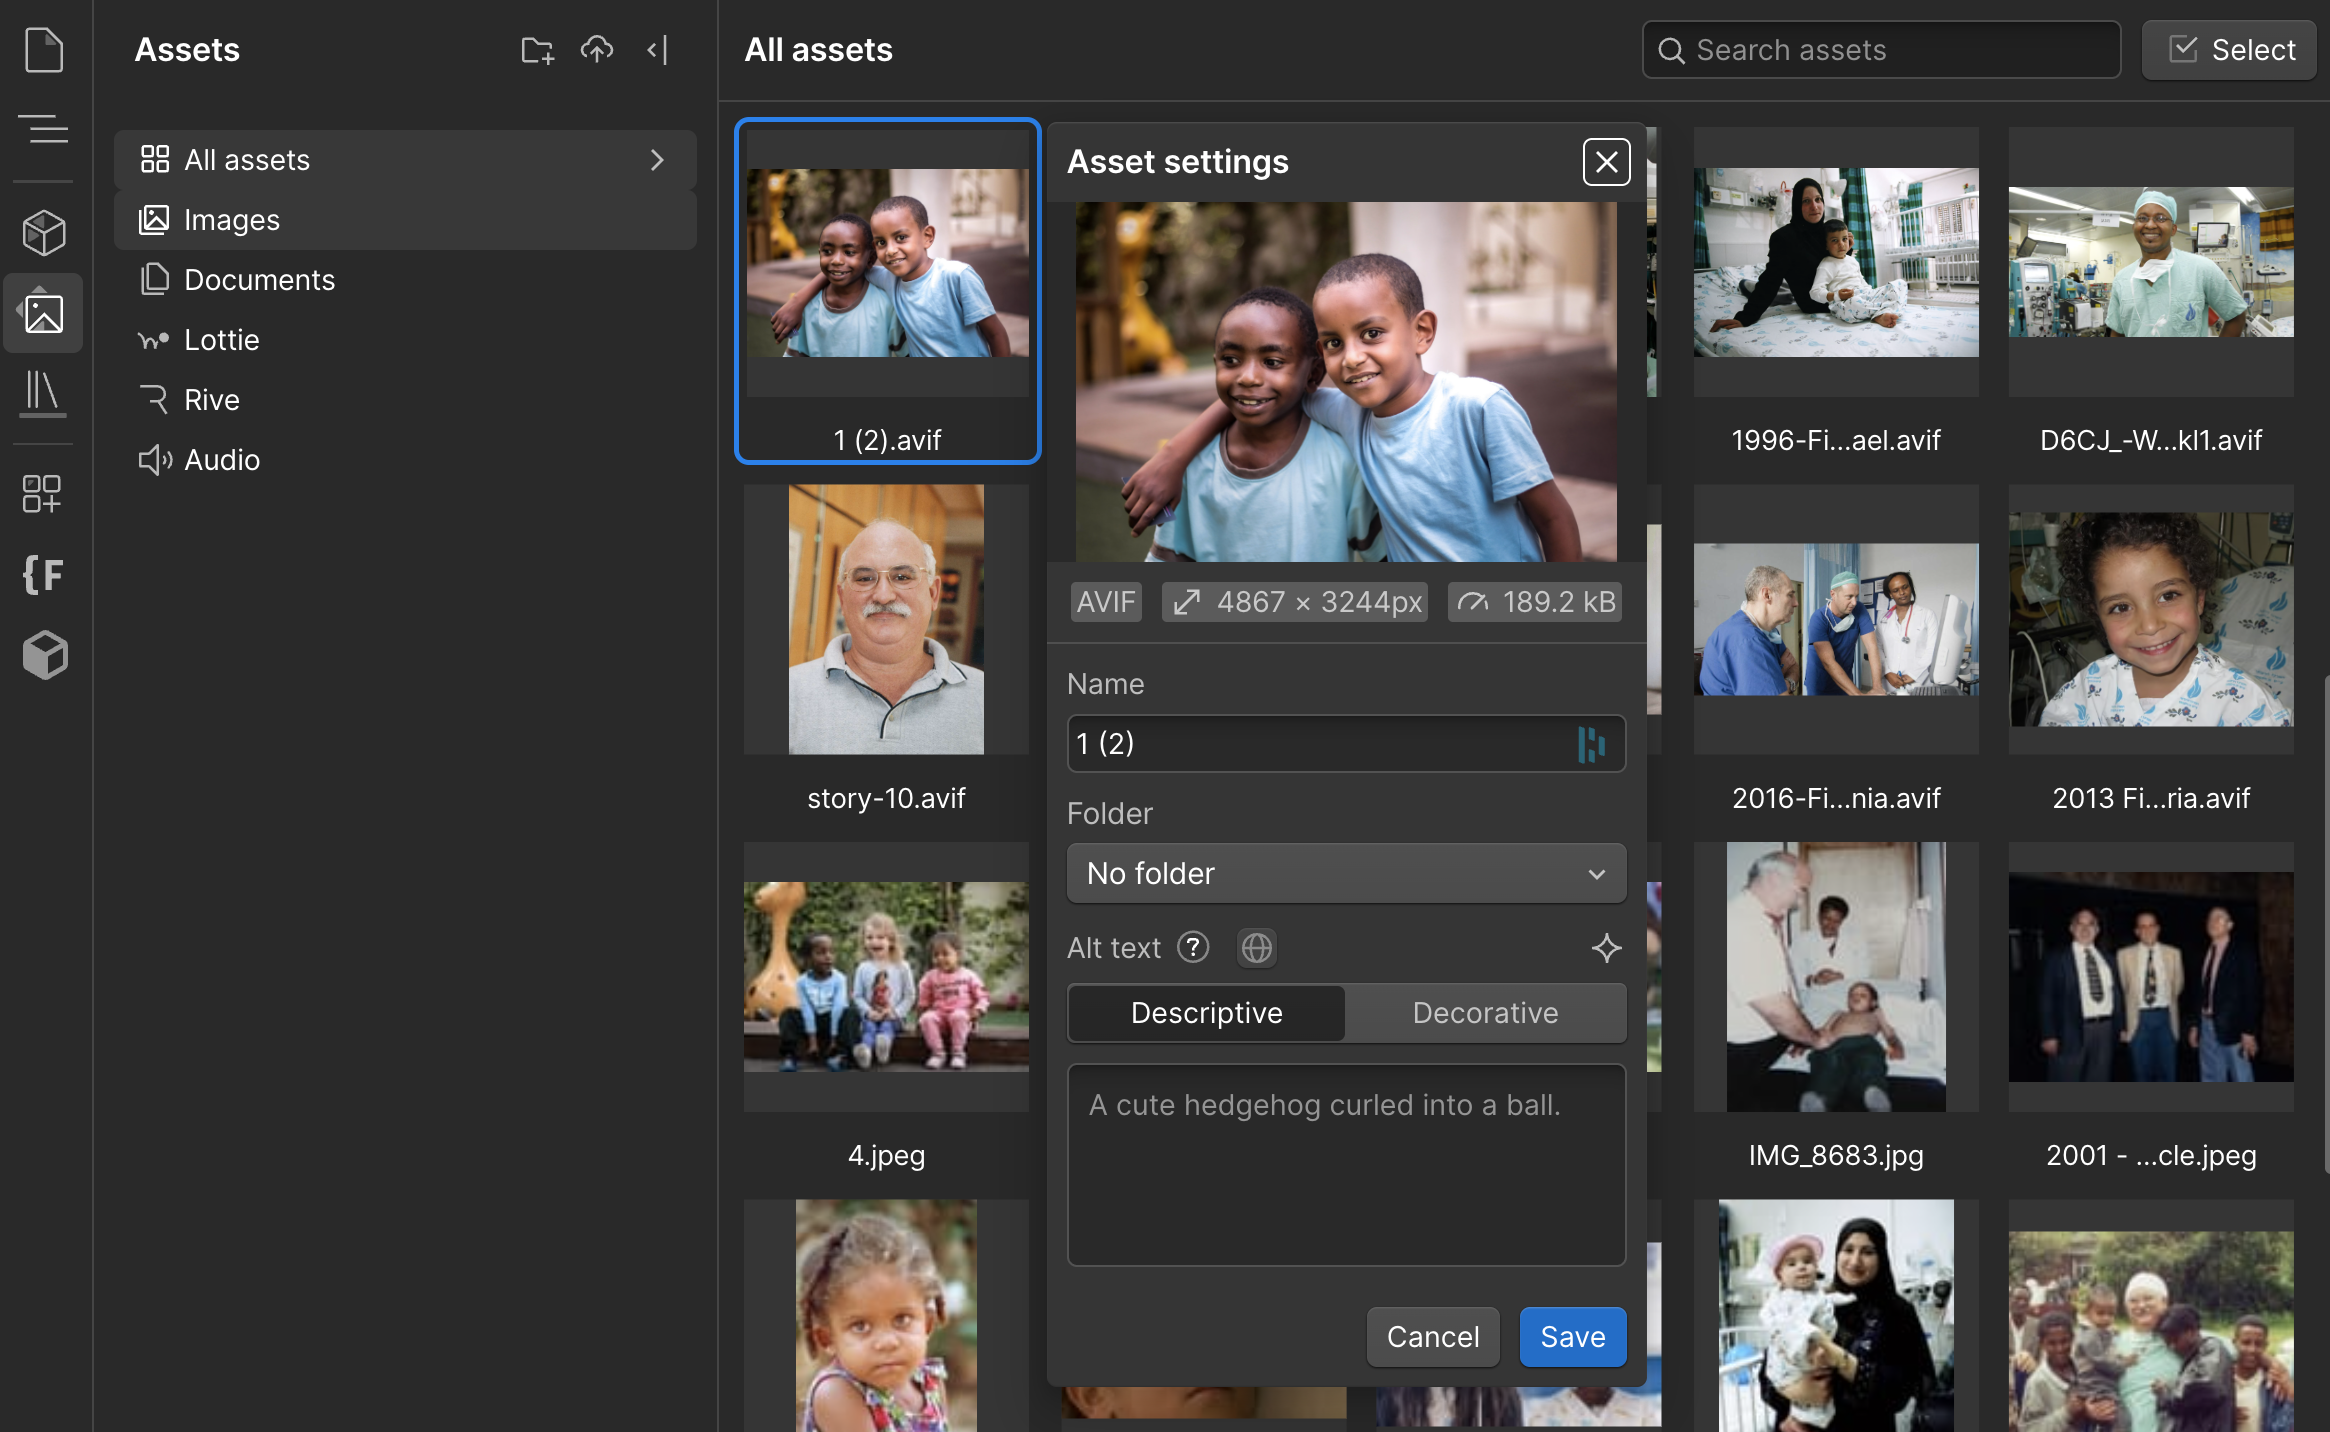
Assets stores website images and files. Search before uploading a duplicate.
The center canvas displays the page. Select text, an image, a link, or a component to edit it.
or a component to edit it.
The right panel shows the settings available for the selected content, including links, images, and styles.
Use the desktop, tablet, and mobile controls to check responsive layouts before publishing.
4.0
Static content is text, images, buttons, and links placed directly on a page. Select the content on the canvas to update it.
Text and links
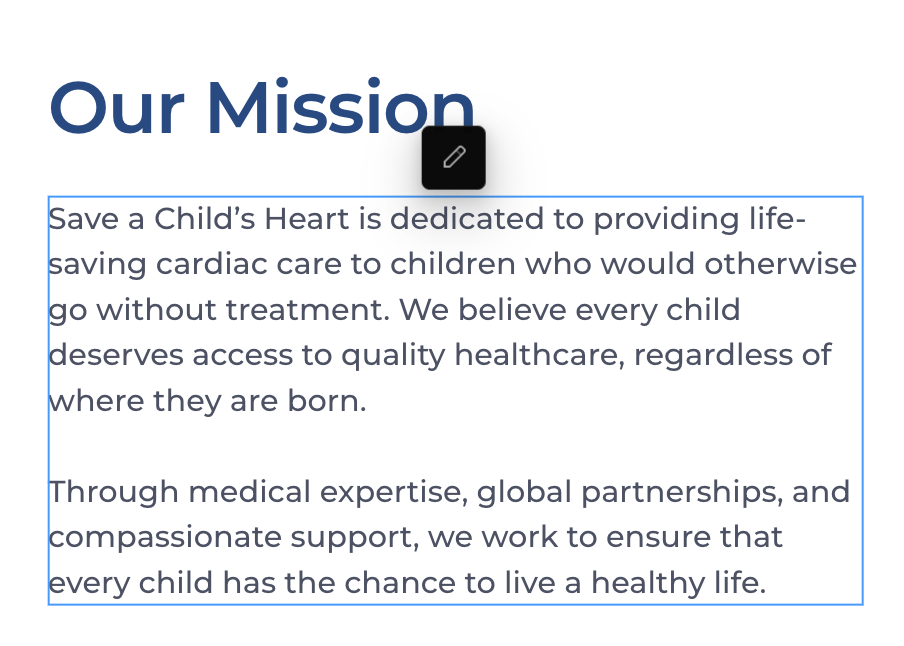
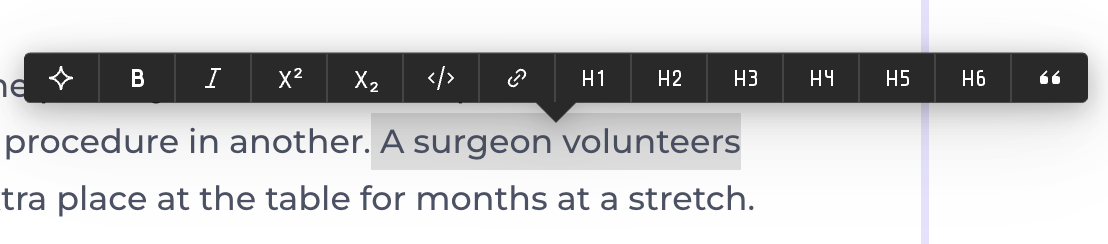
Edit text: Select the text, choose Edit when shown, replace the content, then click outside the element.
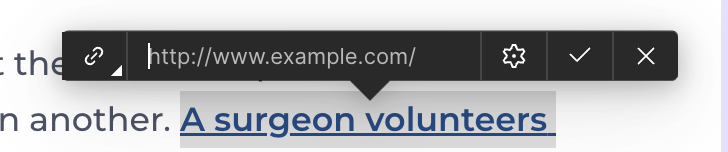
Edit a link: Select the linked text or button, open its settings, update the destination, and test it in Preview.
Images
Select the image and choose Replace. Pick an existing image from Assets or upload a new file. Check the crop and alt text before publishing.
Webflow saves changes automatically, but they are not live until published.

5.0
Use the CMS to create, update, and publish structured content such as Stories, Missions, Profiles, and Events.
Click CMS in the left sidebar, then choose the correct Collection.
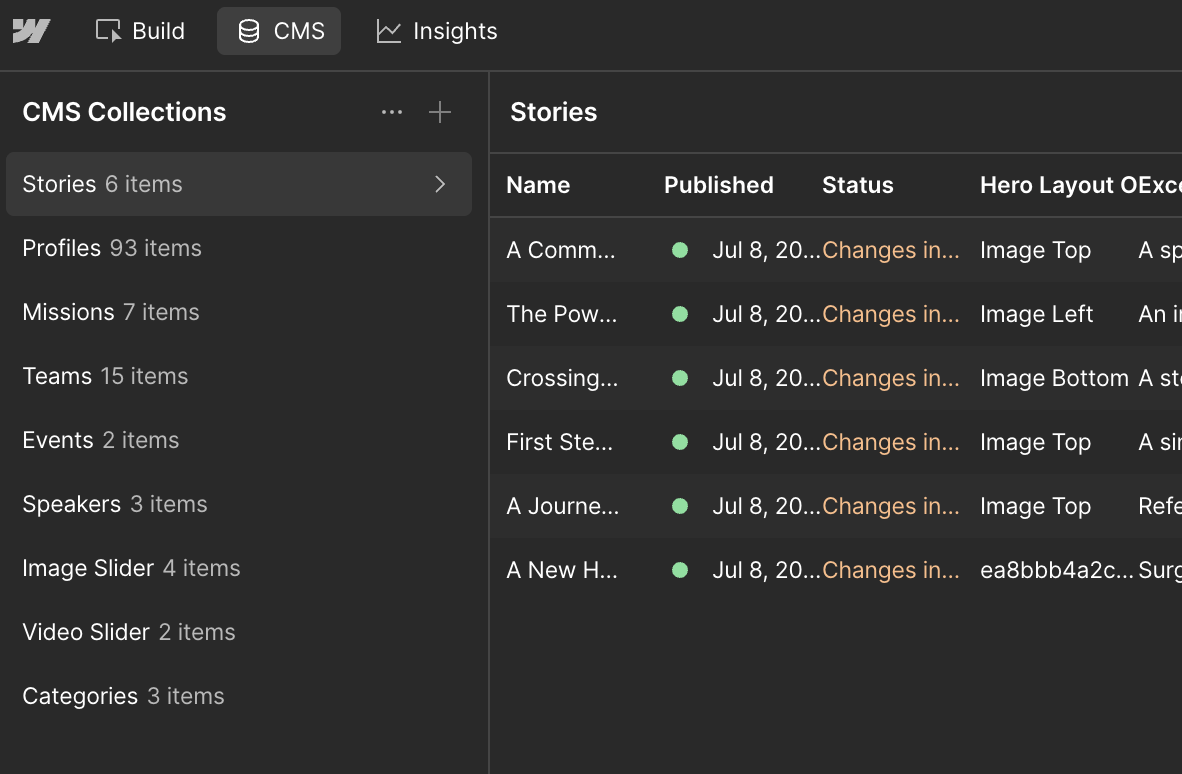
Select an existing item to edit it, or click New item to create one.
Add the required content and review the fields for that Collection.
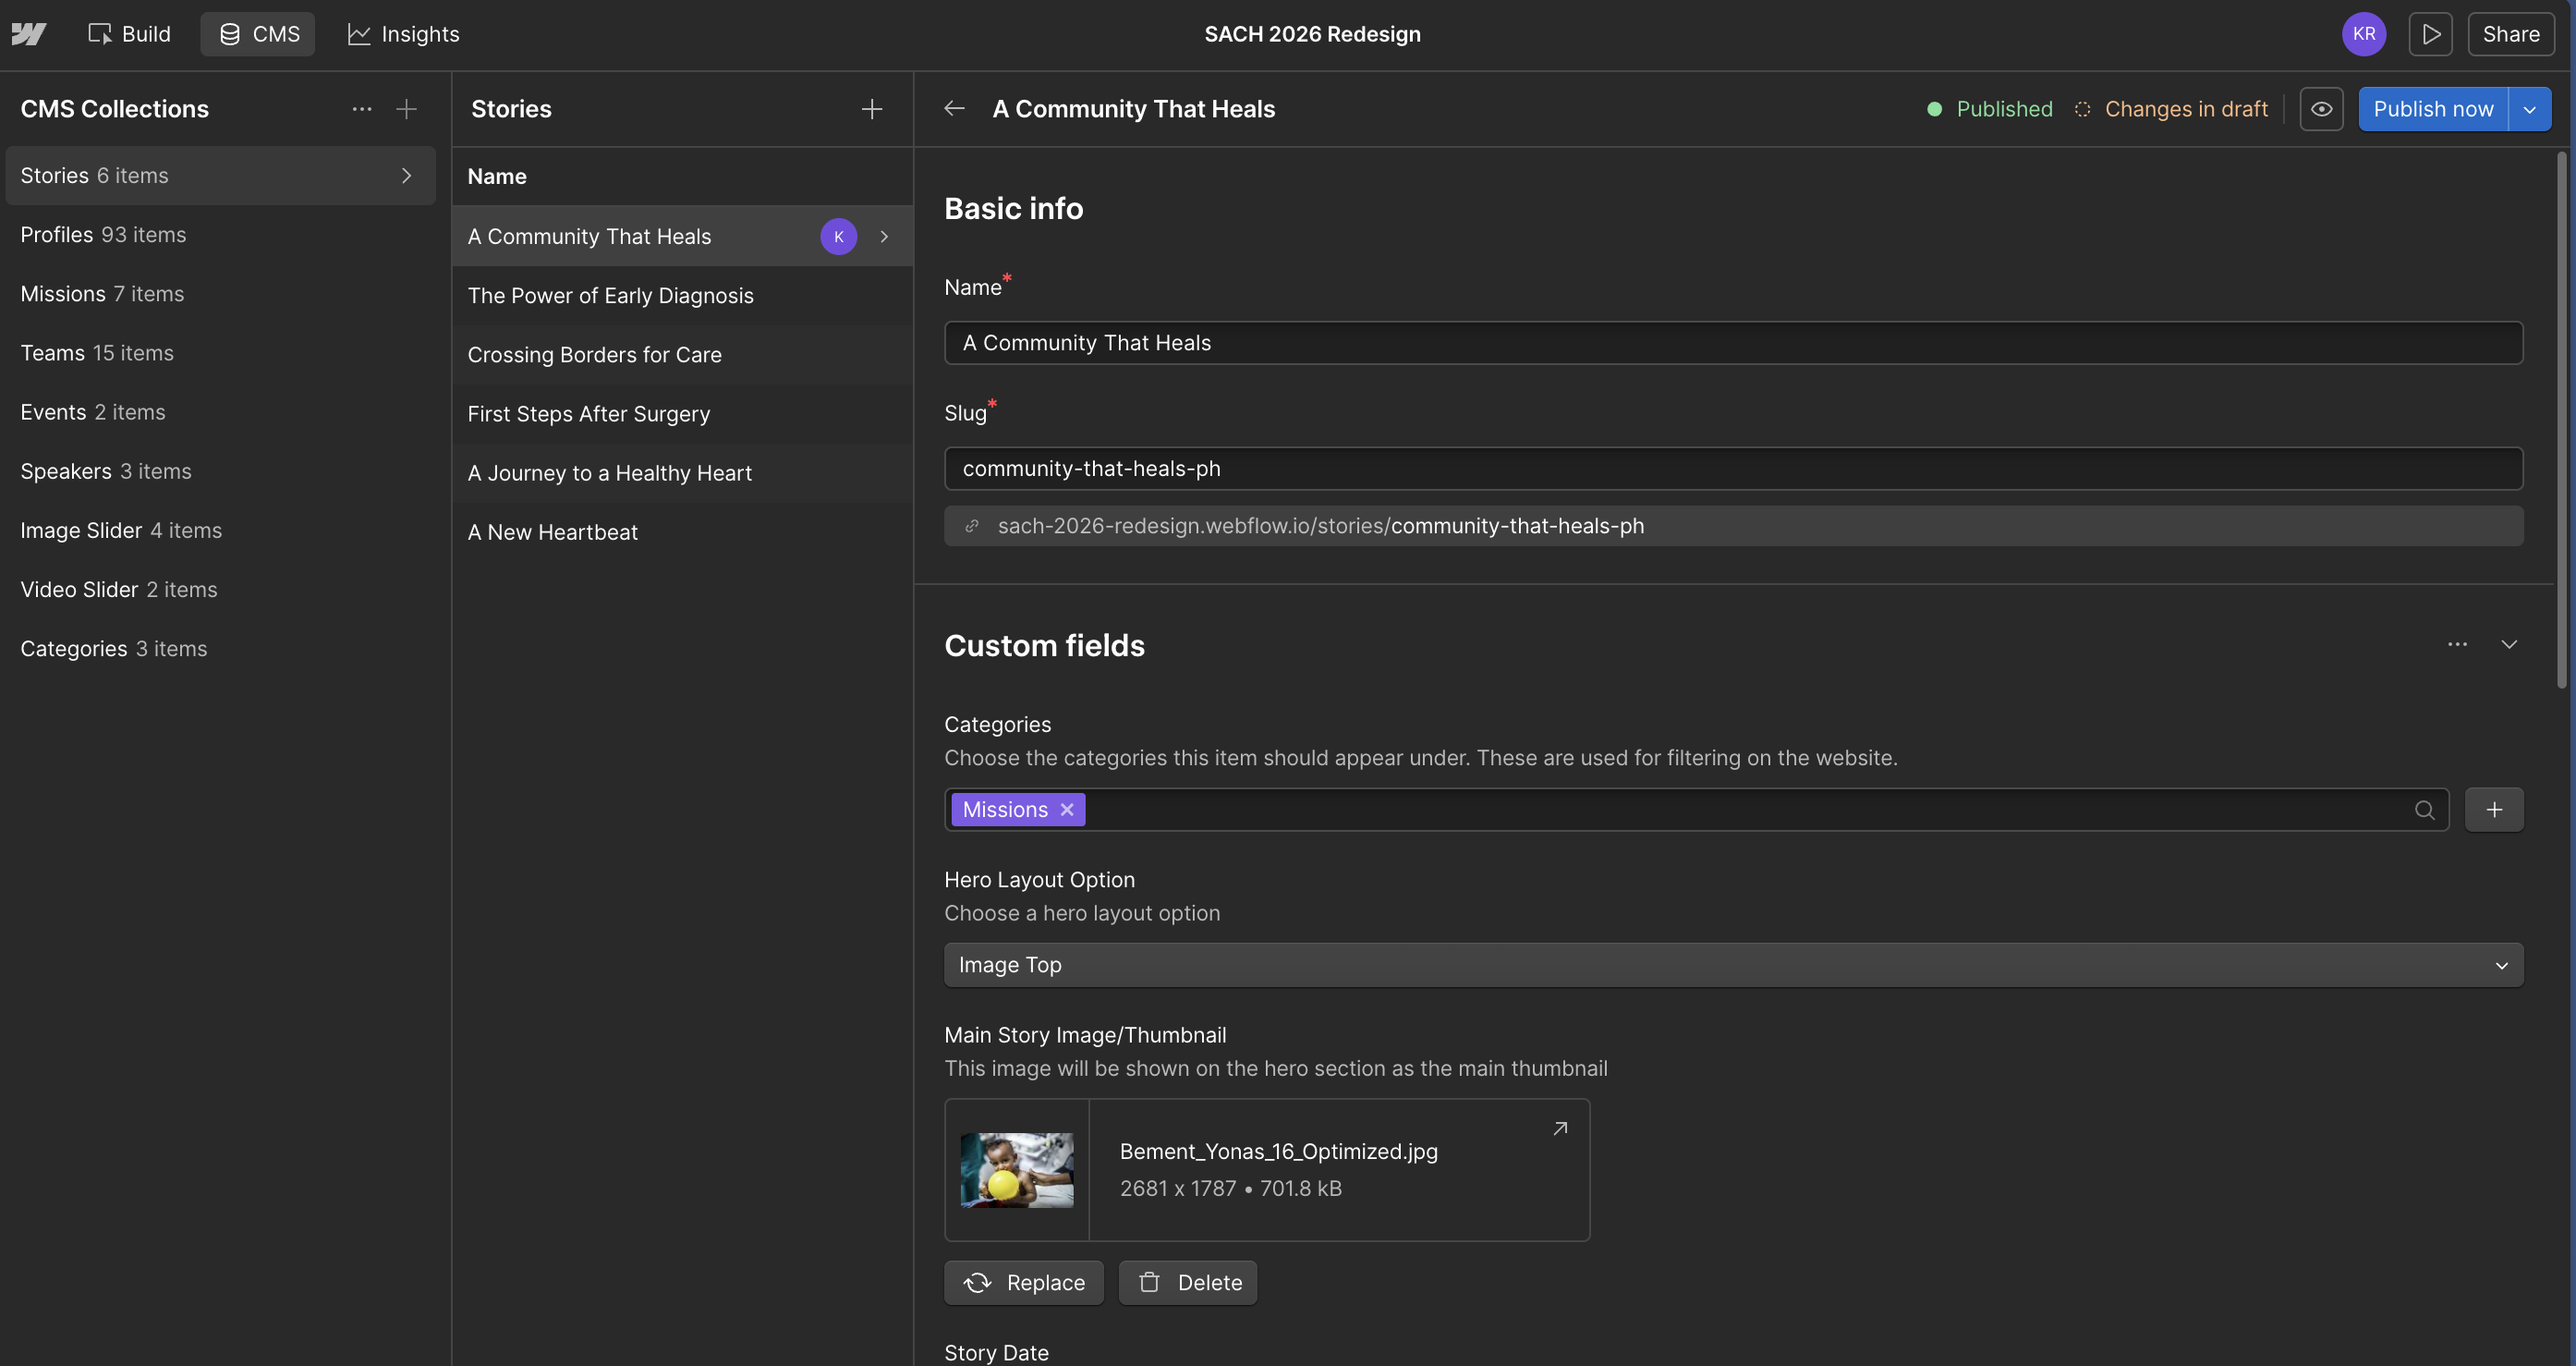
At minimum, check:
Leave optional fields empty when they are not needed.
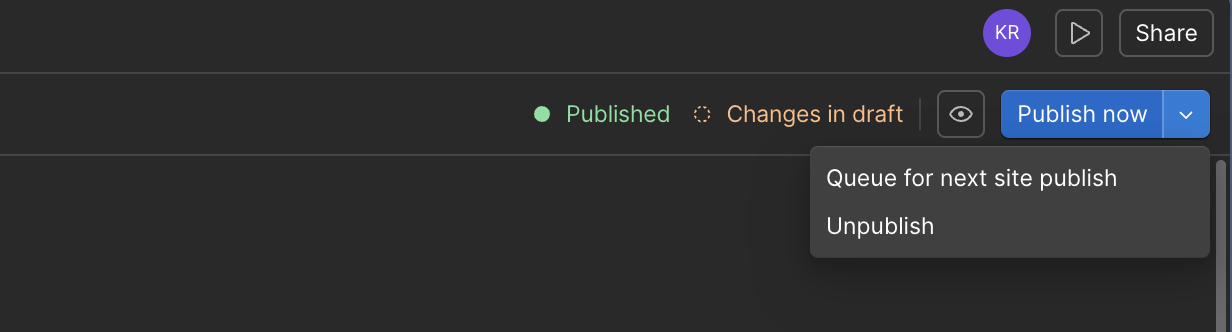
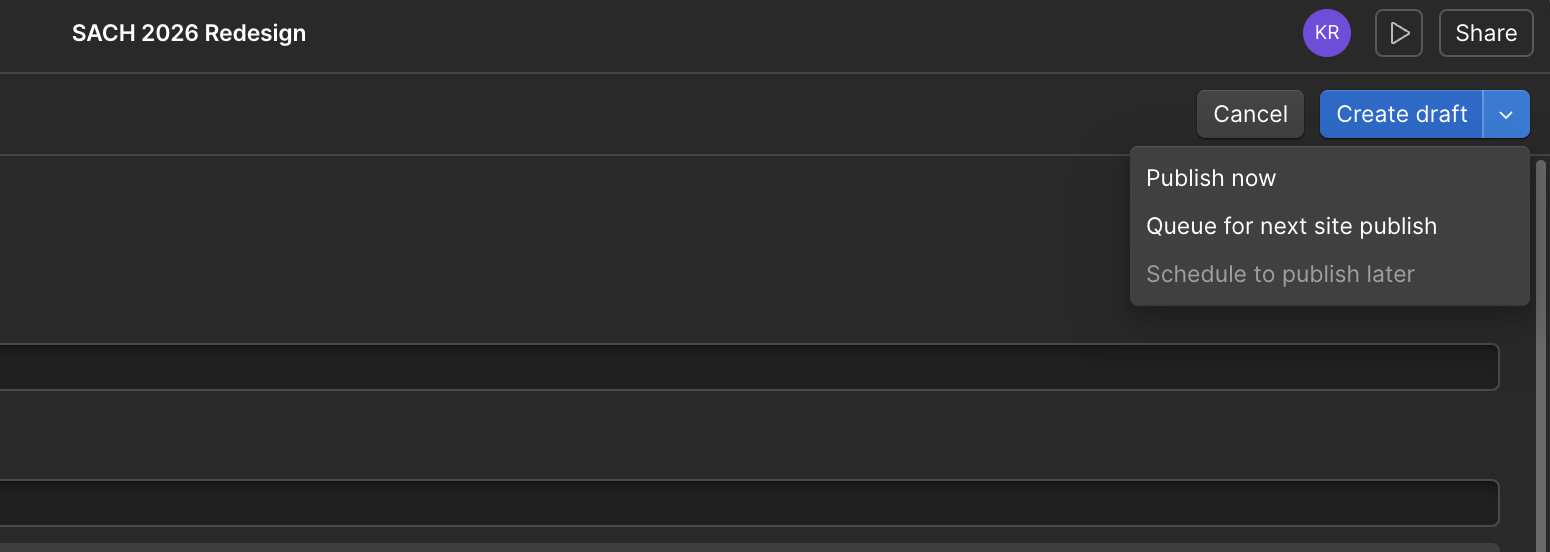
Use the button in the top-right corner to choose how the item should be saved:
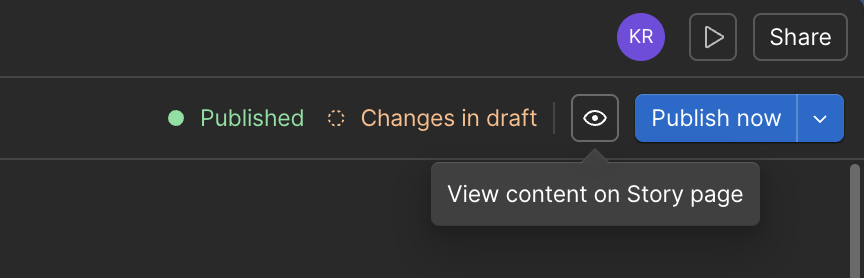
Click the eye icon in the top-right corner to preview and edit content directly on the page. This visual editor lets you, see and edit content in its page layout.
Preview the page and confirm that:
NOTE: Publishing a page does not automatically publish a connected CMS item that is still saved as a draft. Fields only appear on the page when they contain content. Leave a field empty when that section should not display.
5.1 Stories Template
Stories use the same basic CMS workflow as other content. Complete the fields needed for the story, leave unused optional fields empty, then preview before publishing.
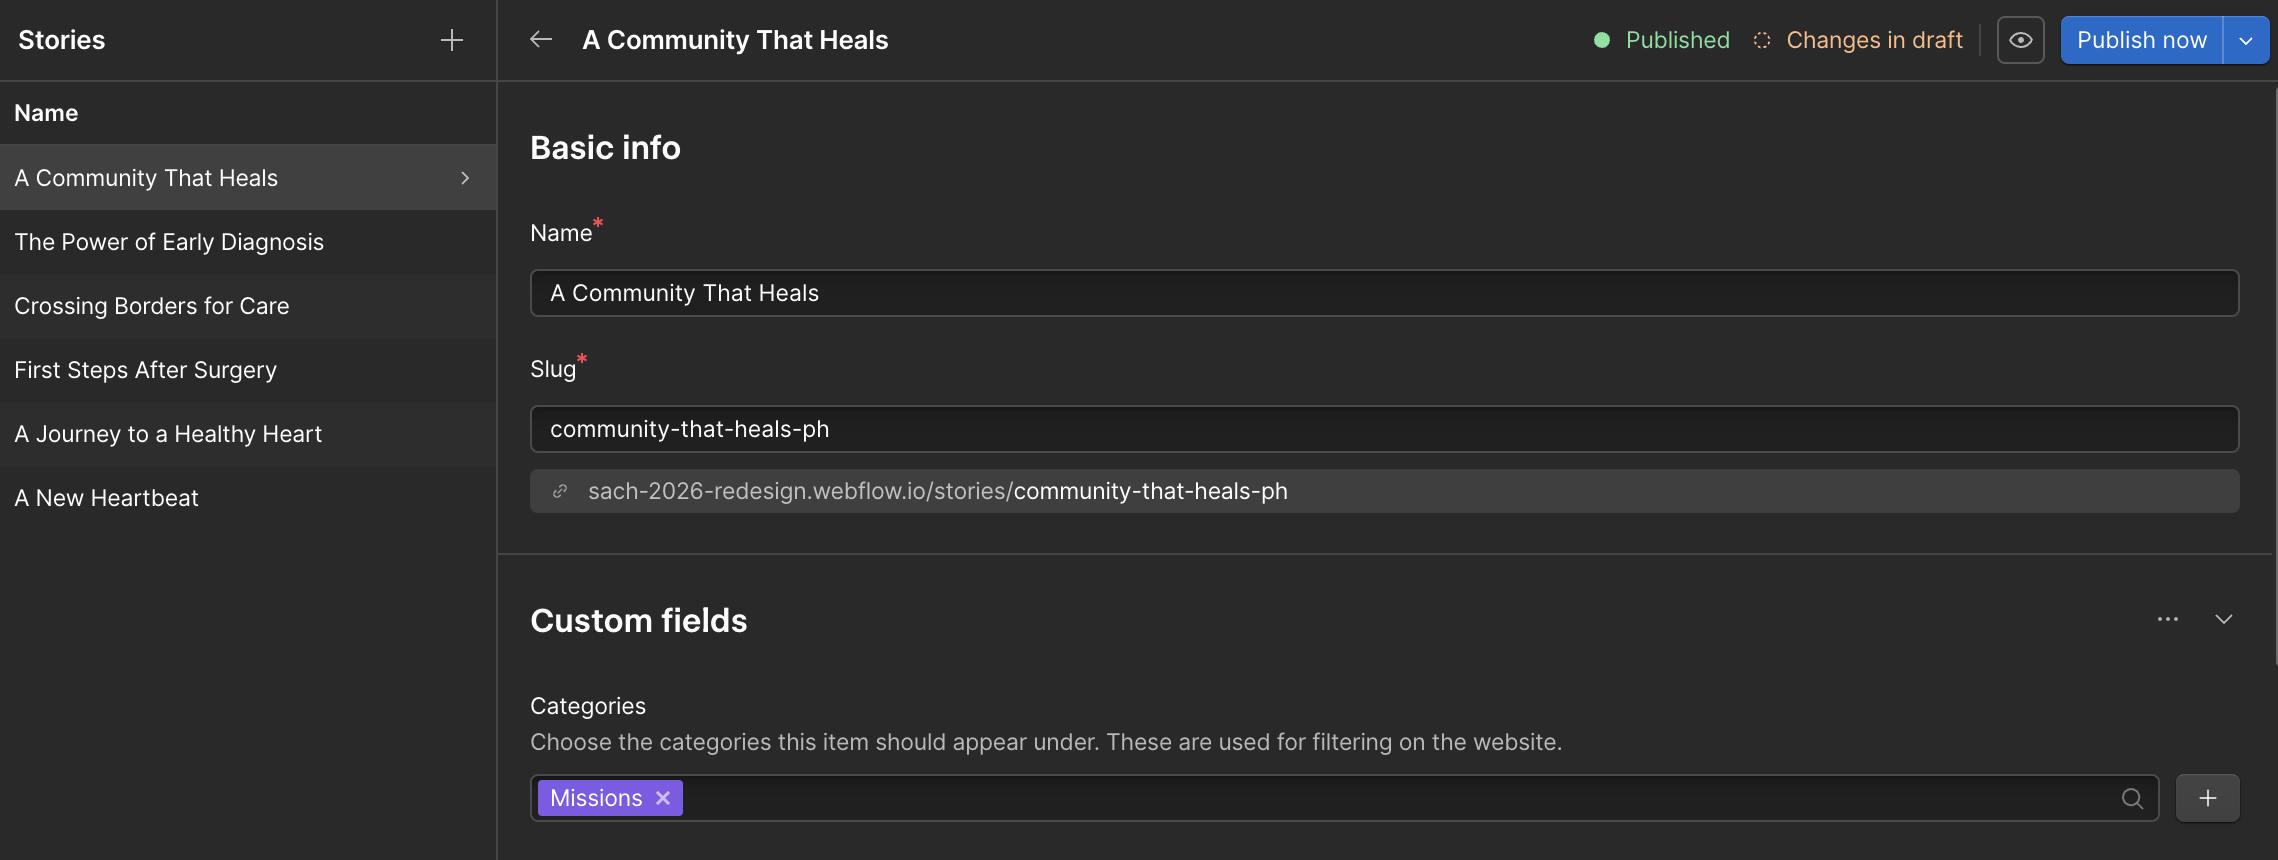
Confirm that the title, date, categories, image, excerpt, and body are complete. Preview the page and check that optional sections display correctly.
Use Name for the story title.
Select the relevant Categories.

Categories control where the story appears and how visitors can filter it. Choose only categories that accurately describe the content.
Add the Main Story Image/Thumbnail. This image is used in the story hero and listing cards.

Choose a Hero Layout Option:

Select the layout that works best with the image.
Use Excerpt for the short summary shown in story listings and the header area.

Keep it to one or two clear sentences.
Use Story Body Text for the main article.

NOTE: This Rich Text field supports headings, paragraphs, links, quotes, and inline images. Use short paragraphs and H3 headings for longer stories.
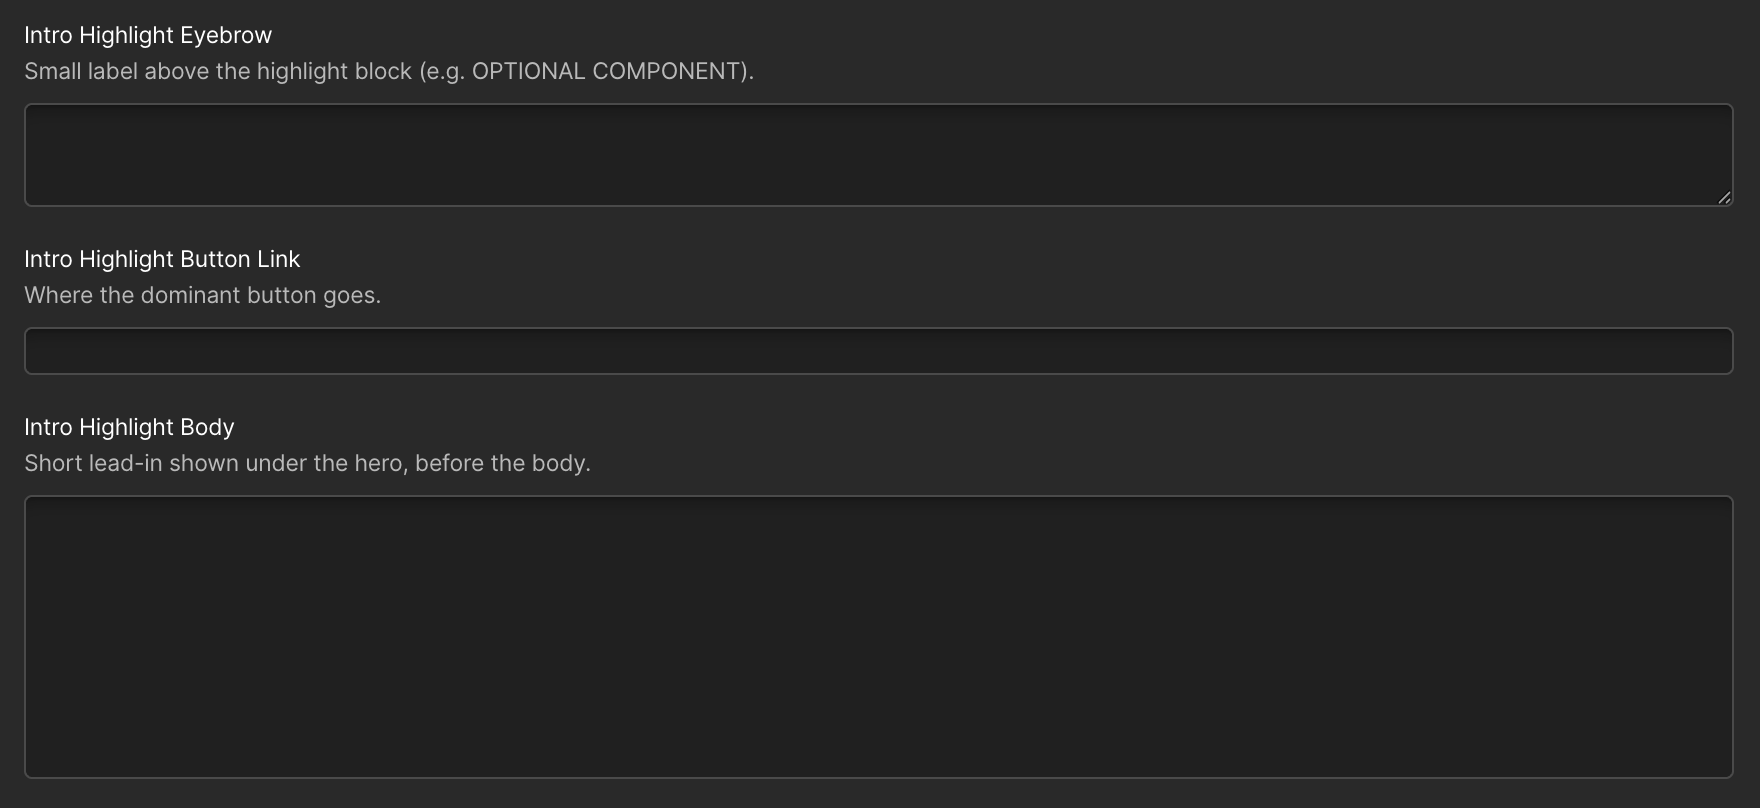
Use the Intro Highlight fields only when the story needs a short featured block before the main body:
Leave these fields empty when the section is not needed.
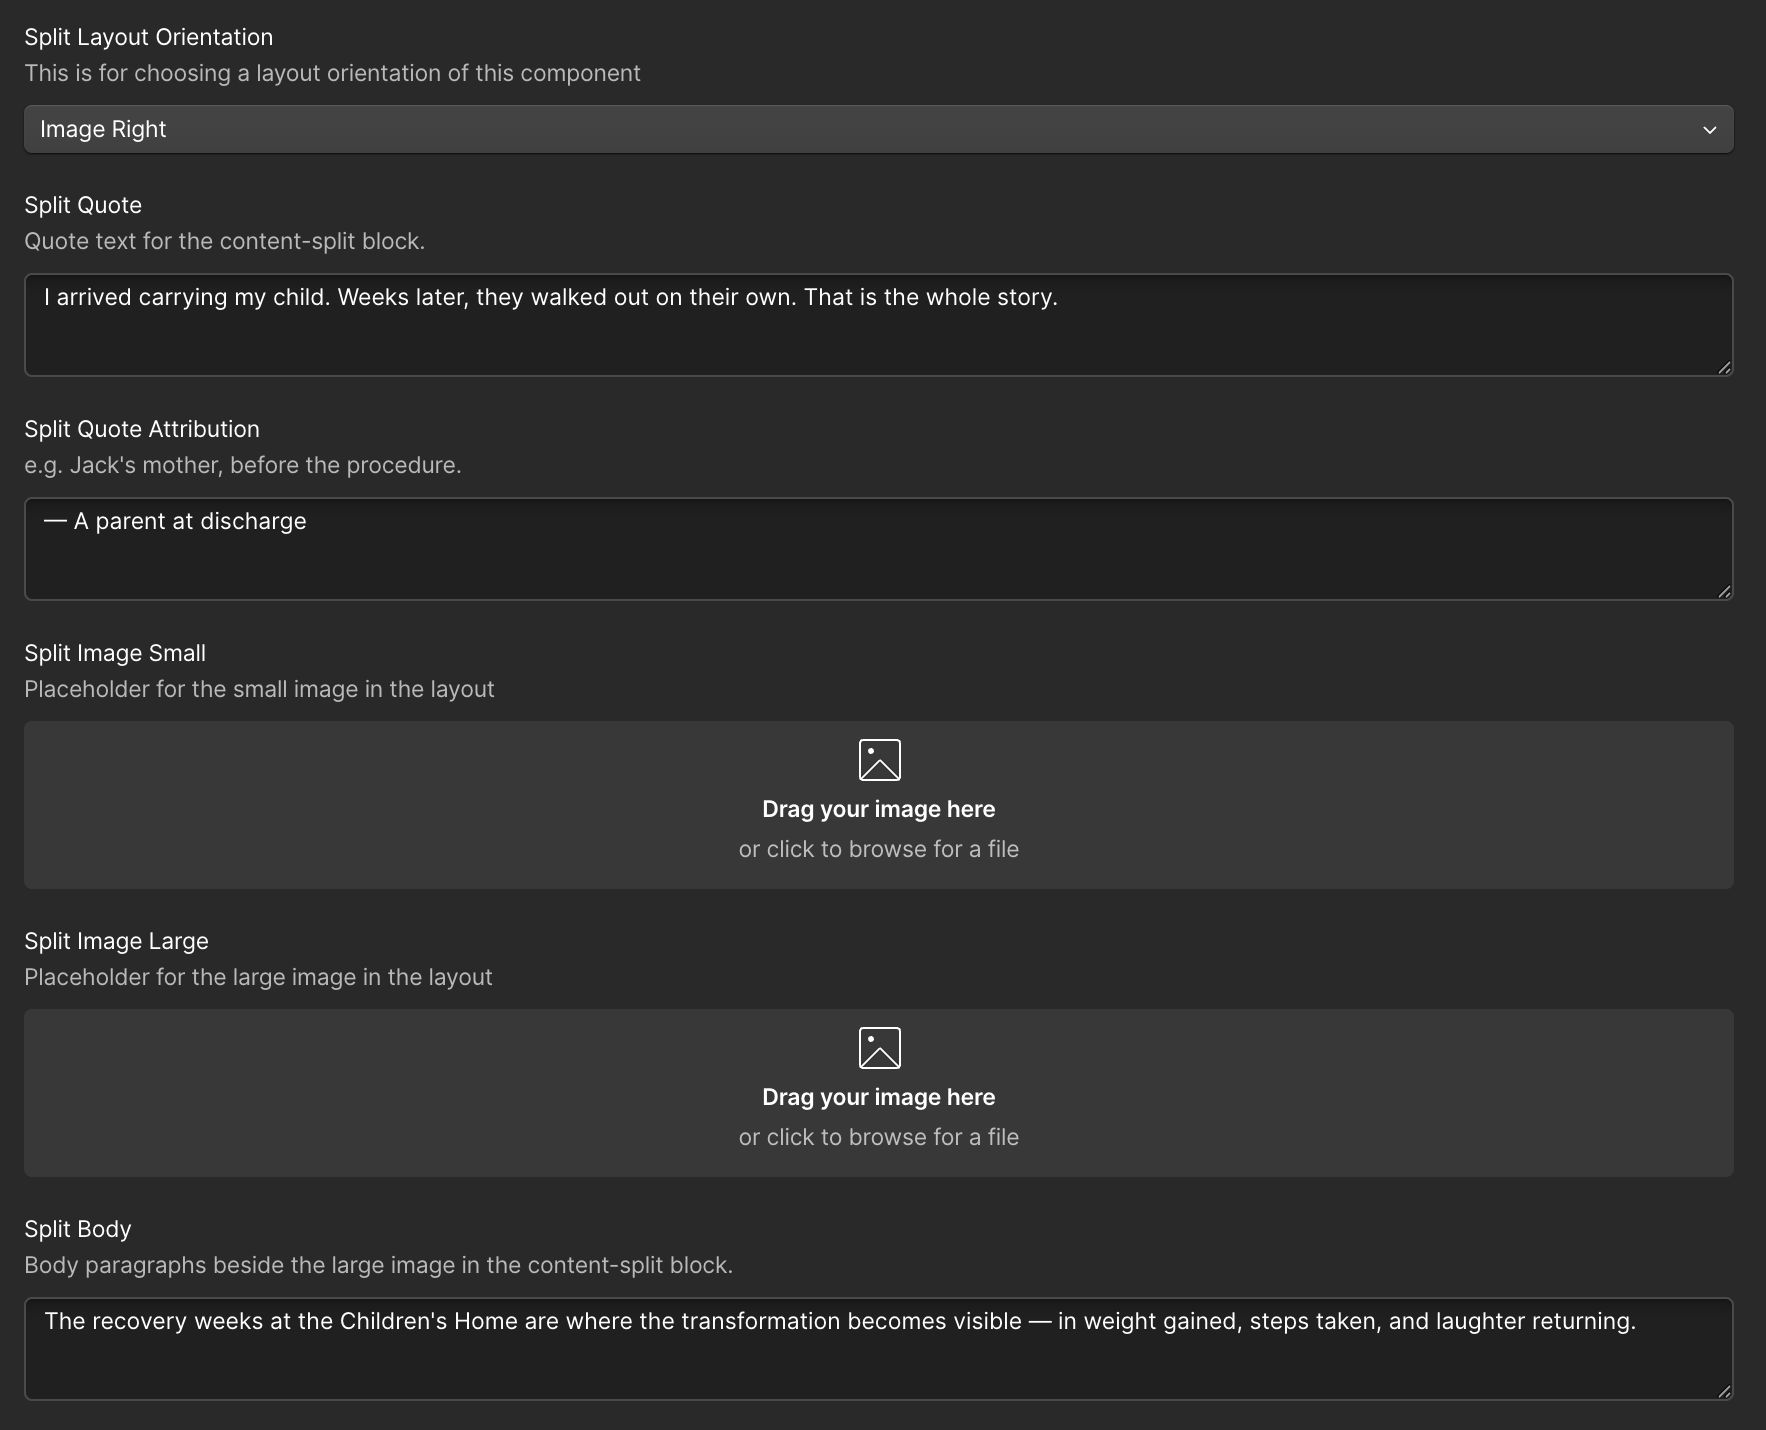
Use the split fields for an optional image, quote, or supporting text section:
When no quote attribution is added, the content can render as regular text instead of a credited quote.

Turn on Featured Story when the story should appear in the homepage featured area.
Turning it off removes the story from featured areas but does not delete or unpublish it.

Use Slider to connect one Image Slider item to the Story.
Only one slider should be created for each Story.
Editors can create it in either of these ways:
Name the slider clearly so it is easy to identify as belonging to this Story.
Use this format:
Slider — Story Name — Images
Example:
Slider — A New Heart for Daniel — Images
After creating the slider:
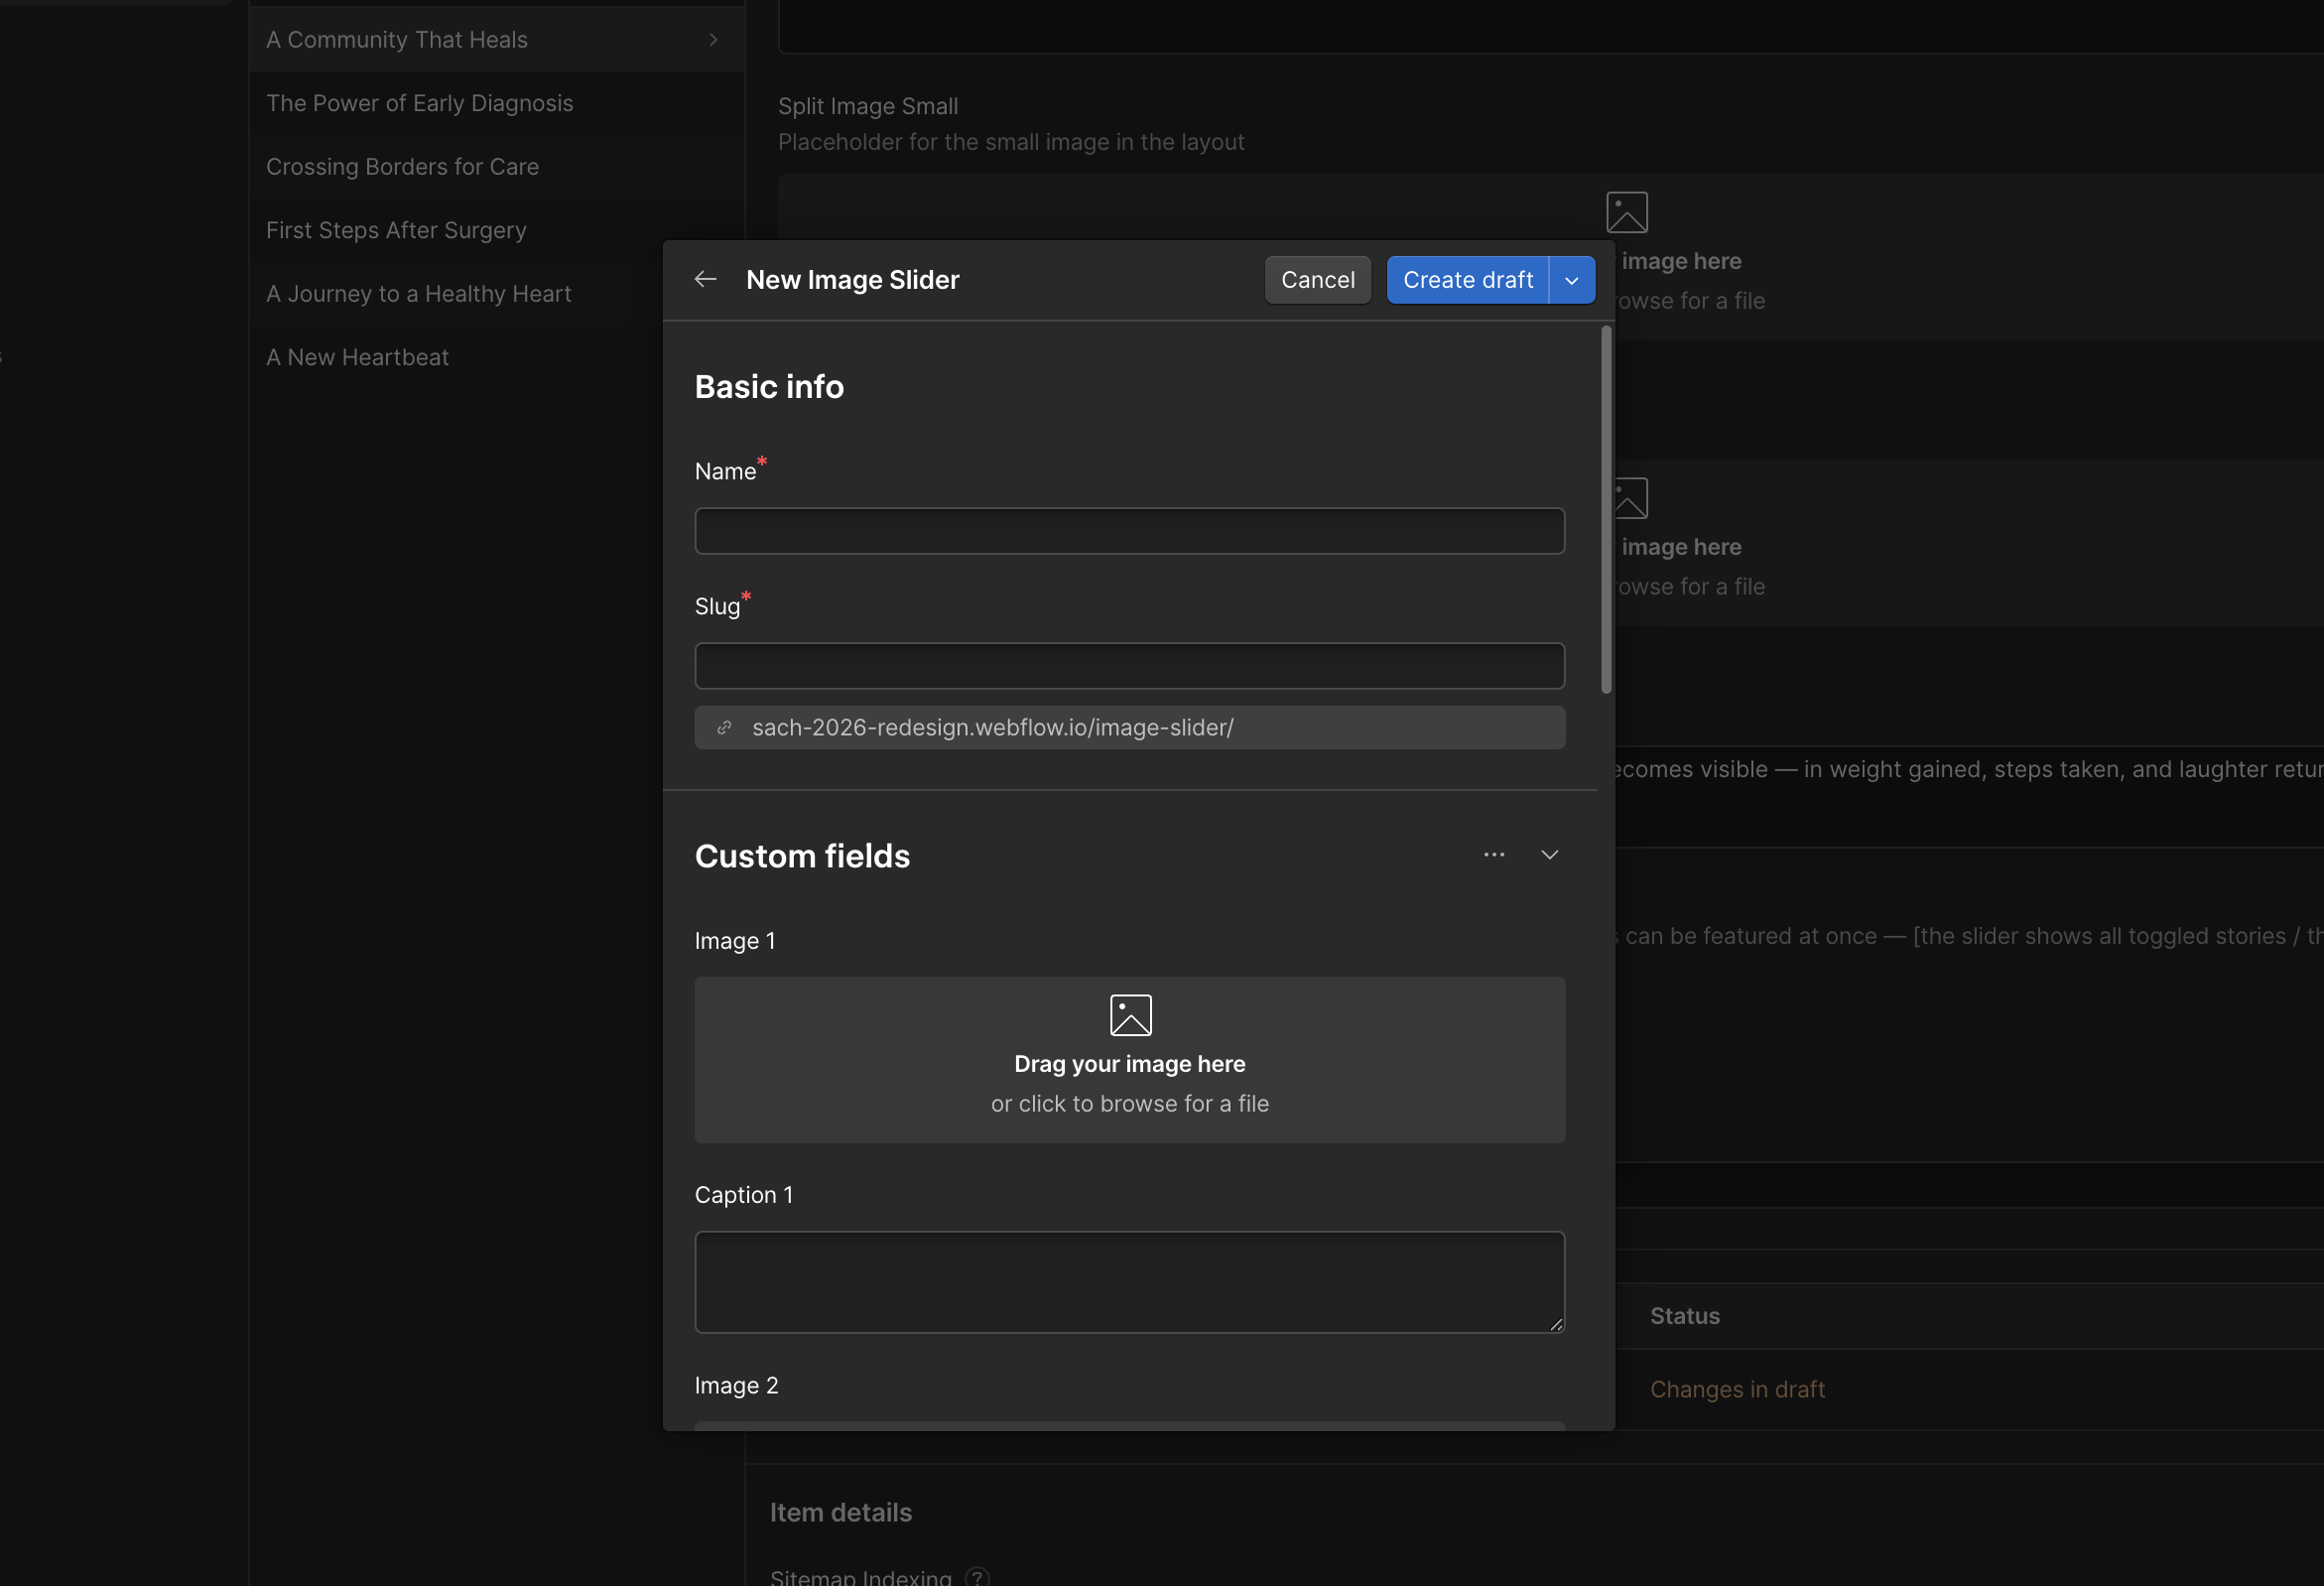
Important: The slider is a separate CMS item. It must be published before it can appear on the live Story page.
Confirm that the following are complete:
Preview the page and check that all sections display correctly before publishing.
5.2
Global component usage.
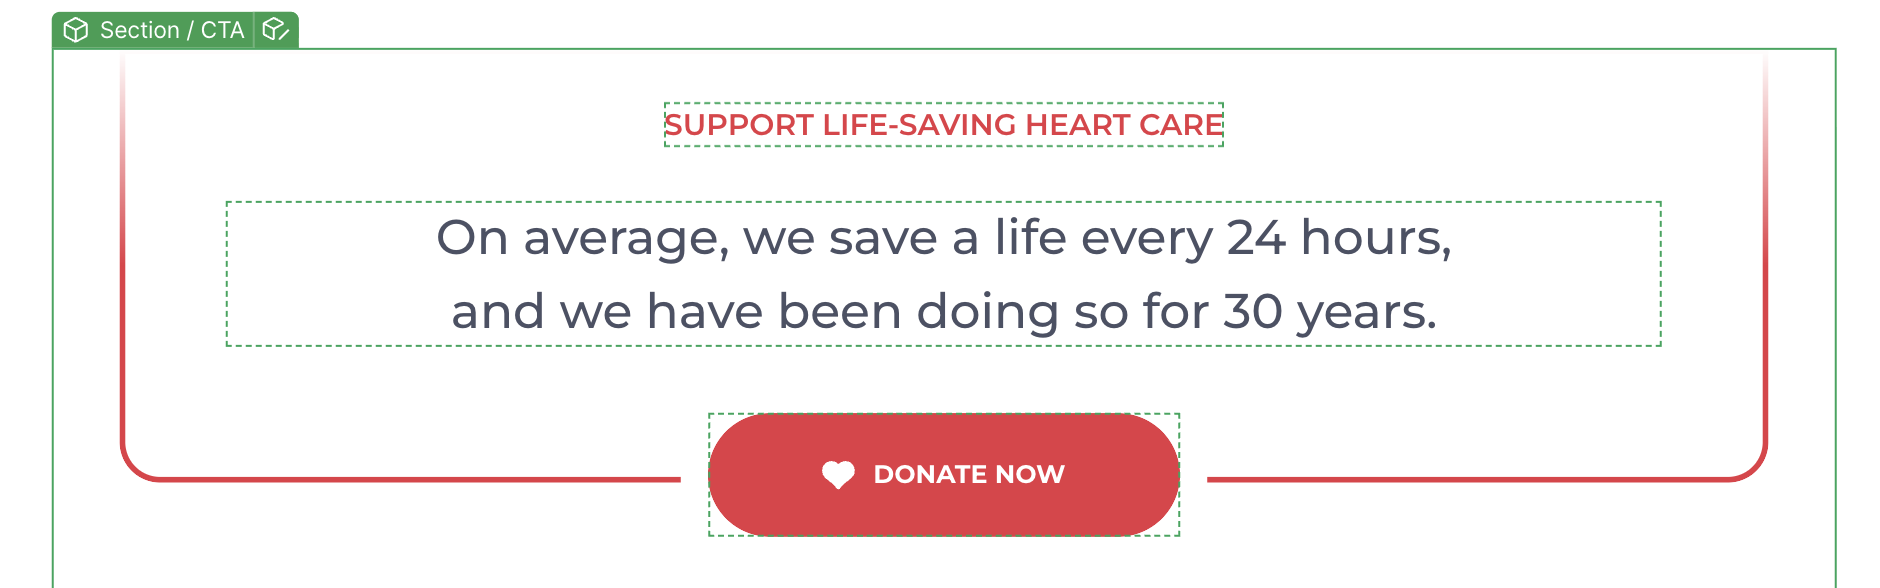
Use the CTA component when the same message should appear across the site. The default text acts as the fallback for every instance.
CMS template usage.
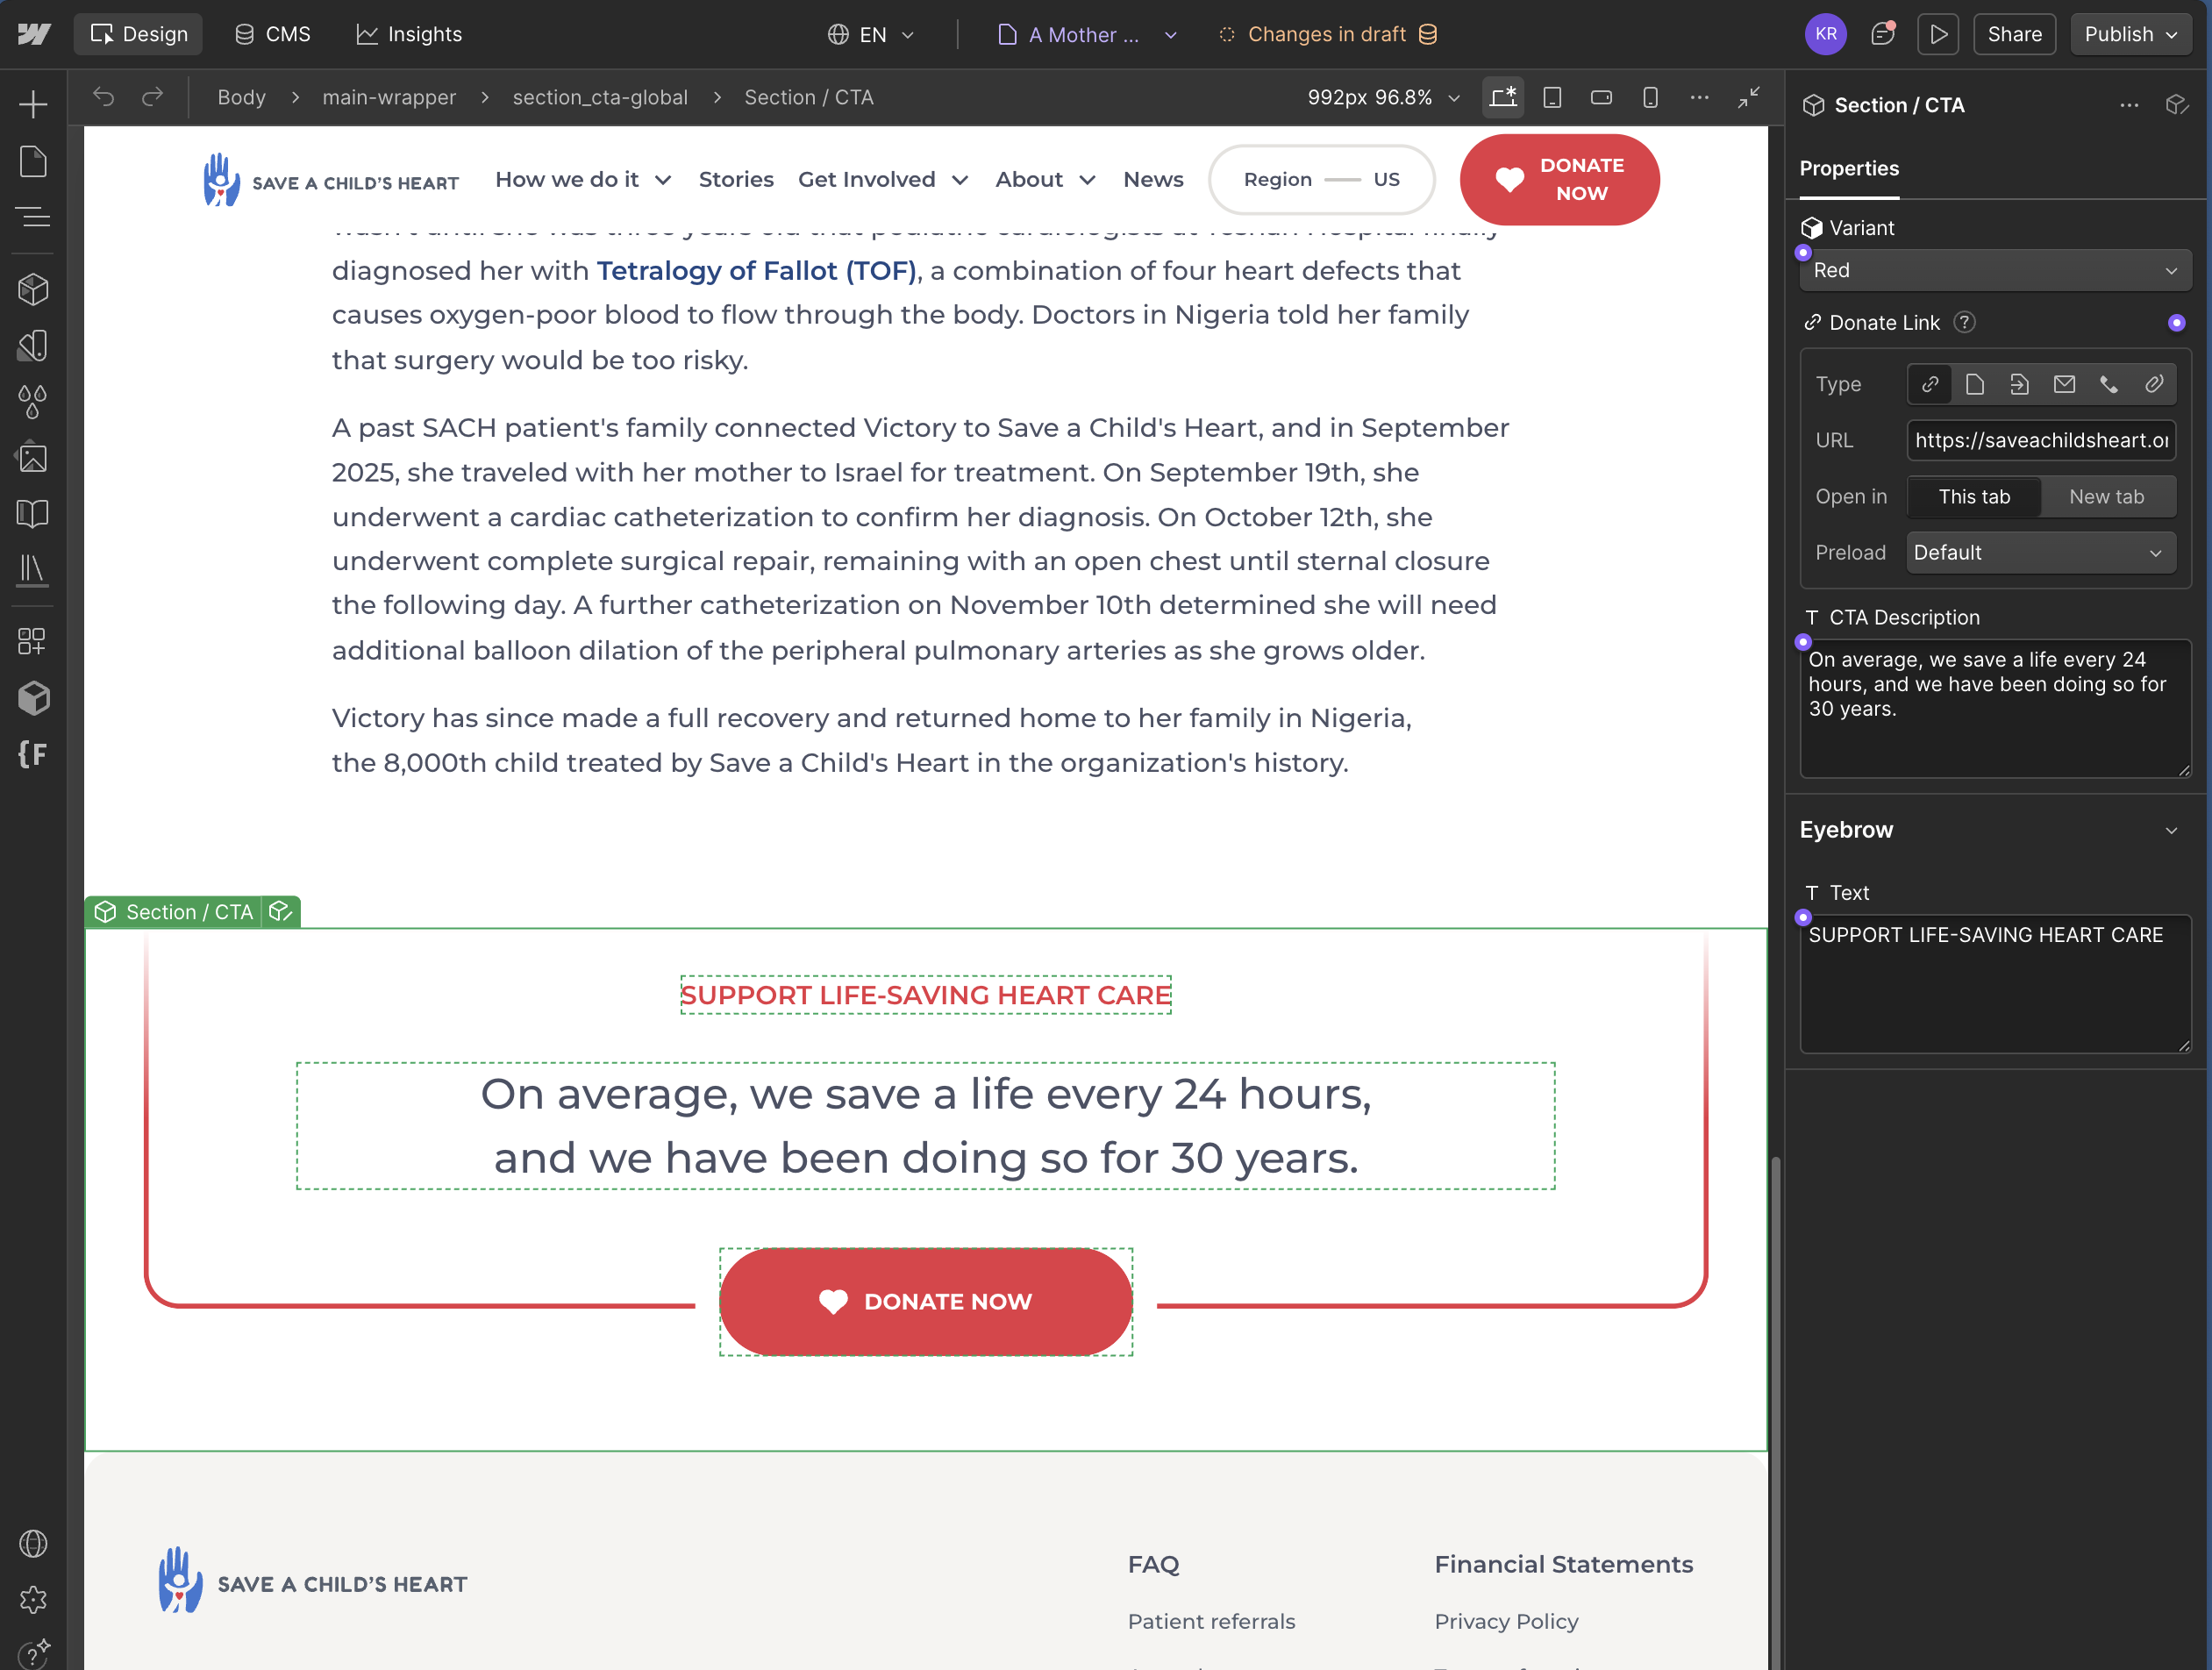
When the CTA is placed on a CMS template, the template-level fields control the default content for that collection. This makes the CTA consistent across all items in that CMS collection unless an item has its own values.
CMS item-specific usage.
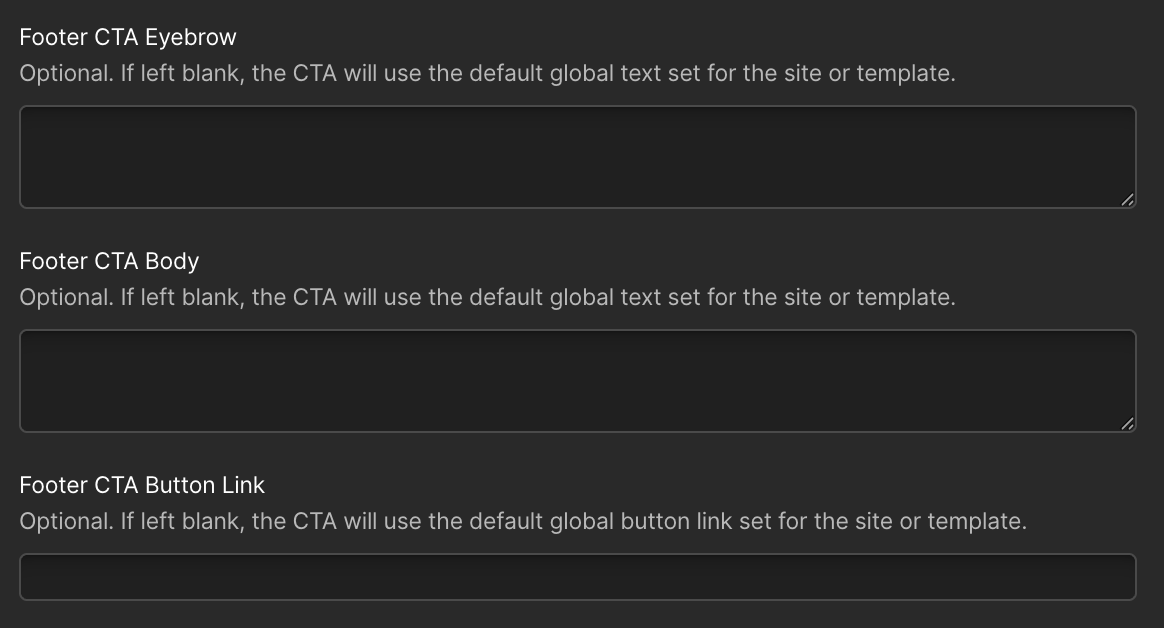
If you fill the Footer CTA Eyebrow, Footer CTA Body, or Footer CTA Button Link fields on a specific CMS item, those values apply only to that item. They override the collection/template default for that one entry only, without affecting Stories, Profiles, Missions, or any other item.
Note: Leave the CMS fields empty when you want the template default to show.
5.2 Missions Template
Missions follow the same basic CMS workflow as other content types. This section focuses on the fields and options that are unique to Missions.
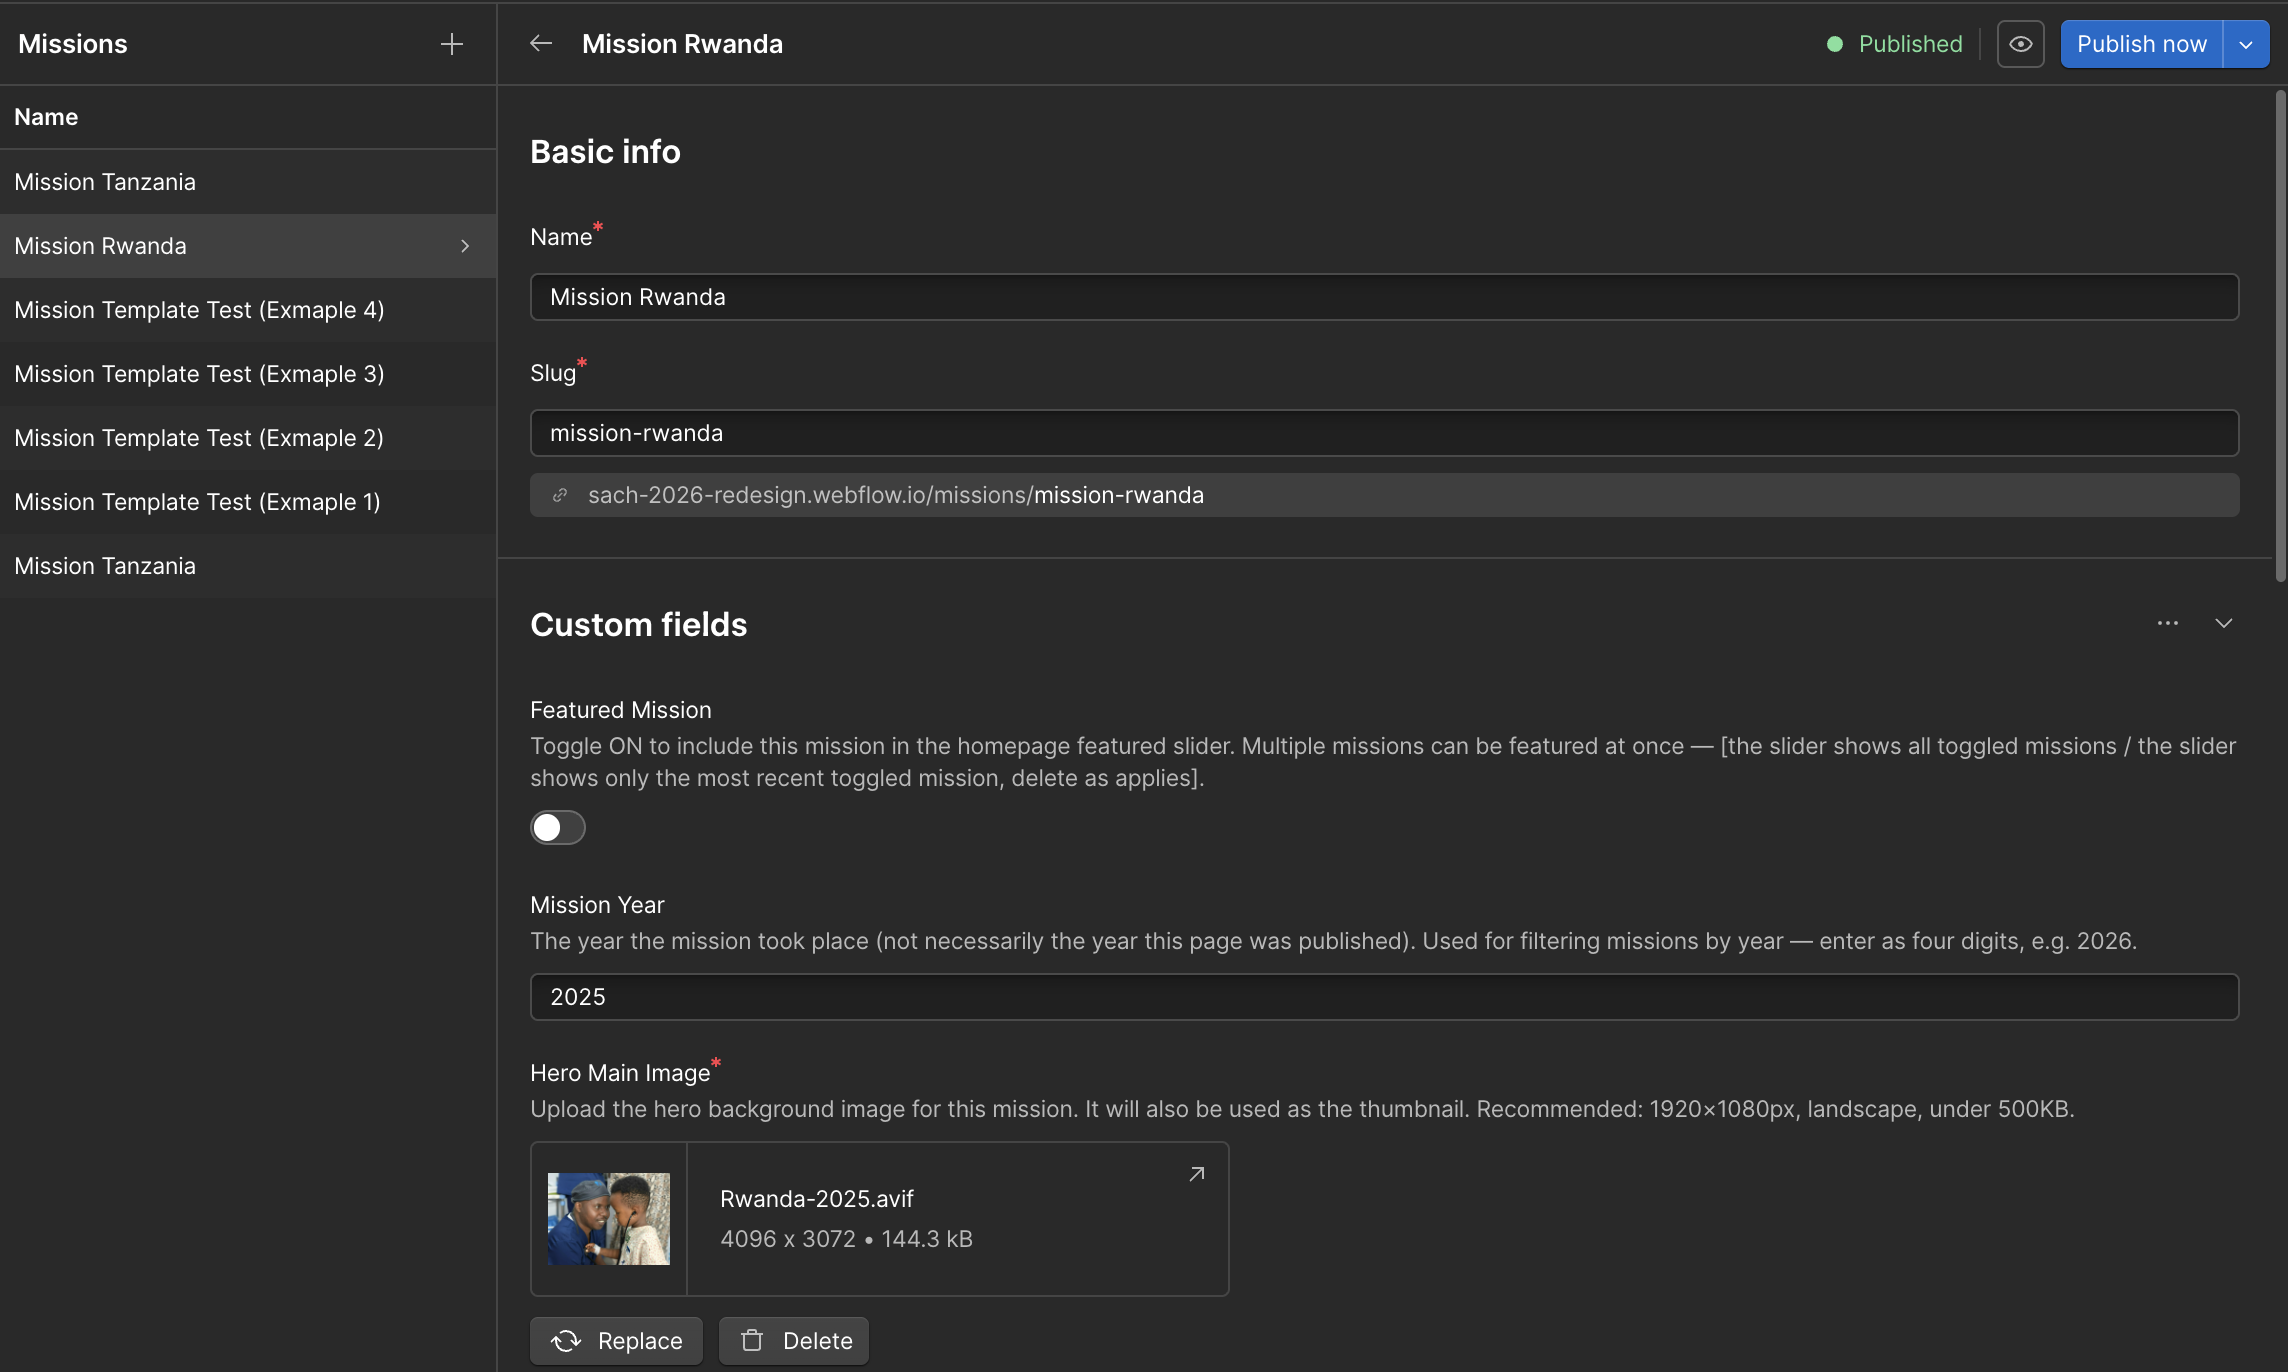
Add the mission title, location, dates, description, statistics, images, and related information.
Check all dates, locations, and statistics carefully before publishing. These details may appear in several places across the website.
Use the Featured option to control whether the mission appears in featured areas of the website.

The Image Slider field connects the Mission to a separate item in the Image Slider CMS Collection.
A slider must be created before it can display on the Mission page.
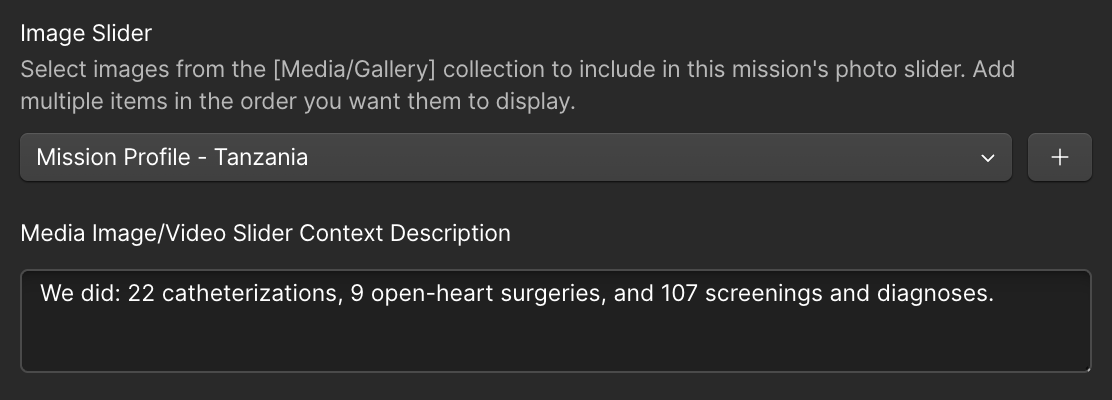
Use this naming format:
Slider — Mission Name — Images
Example:
Slider — Tanzania Mission — Images
A clear name makes the slider easier to find when connecting it to the Mission.
Inside the slider item:
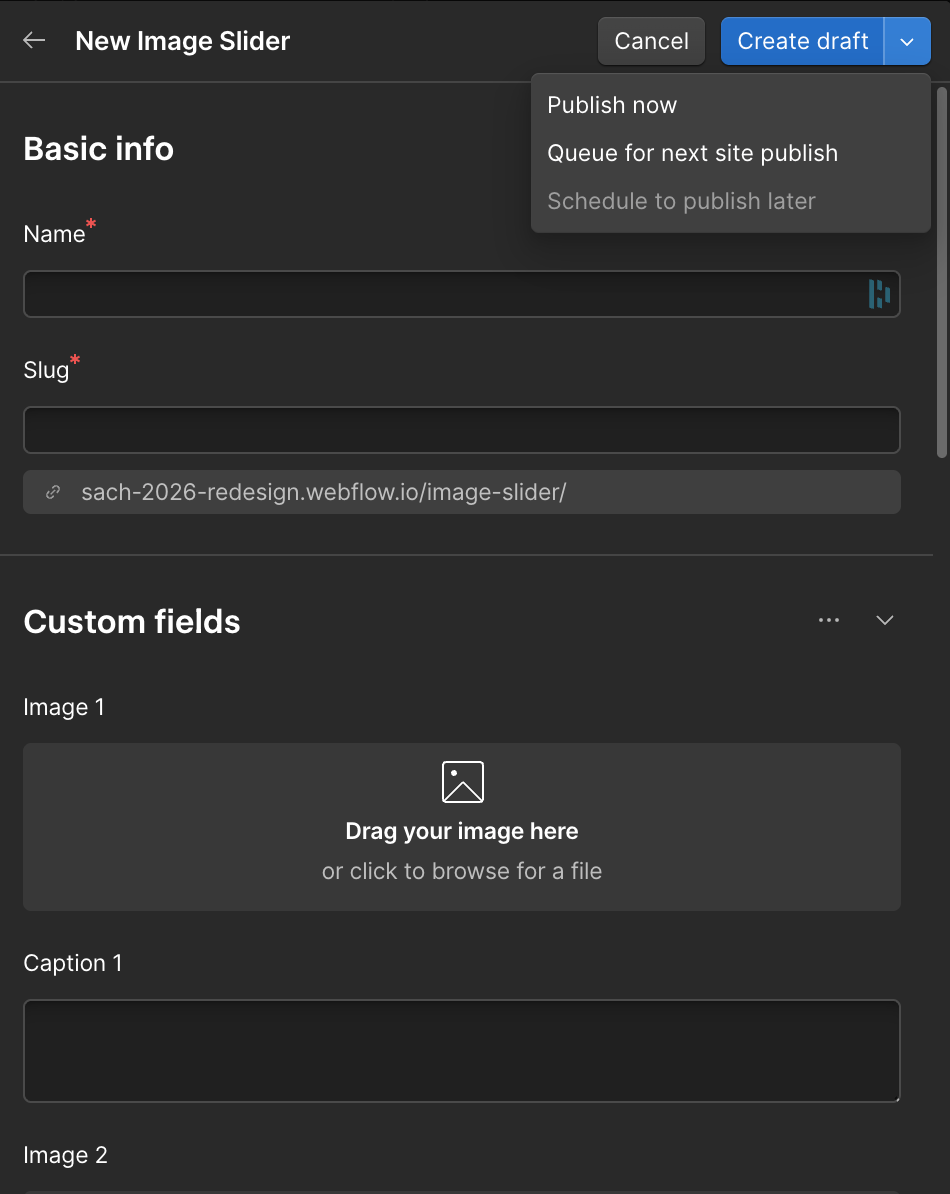
Do not leave empty image spaces between completed images. For example, use Image 1, Image 2, and Image 3 before using Image 4.
The Image Slider is a separate CMS item and must be published before it can appear on the live Mission page.
Use one of these options:
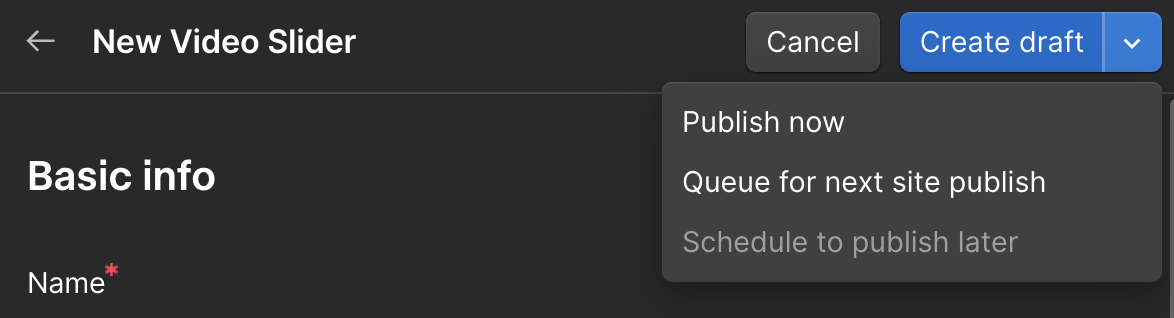
Important: Publishing the Mission does not automatically publish a slider that is still saved as a draft. Confirm that both the Mission and its connected slider are published.
After the slider has been created:
The context description appears near the media section and should explain what the images or videos show.
Example:
We completed 22 catheterizations, 9 open-heart surgeries, and 107 screenings and diagnoses.
Leave this field empty when no supporting description is needed.
The Video Slider field follows the same process as the Image Slider.
Use this naming format:
Slider — Mission Name — Videos
Example:
Slider — Tanzania Mission — Videos
Create the Video Slider item, add the videos in display order, publish the slider, and then connect it to the Mission.
Important: The Video Slider CMS item must also be published before it can appear on the live Mission page.
Use the PDF field for downloadable mission reports or supporting documents.
PDF mission pages use a more streamlined format than full website Mission pages.

Use the approved PDF template and keep the document focused on:
Always preview the Mission page before publishing to confirm that the correct sections appear.
5.3 Profiles Template
Profiles follow the standard CMS workflow. Create a new item, complete the relevant fields, preview the profile, and publish when ready.

Always select the correct Profile Type:
This controls how the profile is categorized and where it may appear on the website.
Use Name for the person’s public name.

Add their country or region in Profile Country, using consistent formatting such as:
Avoid changing the slug after publishing because existing links may break.
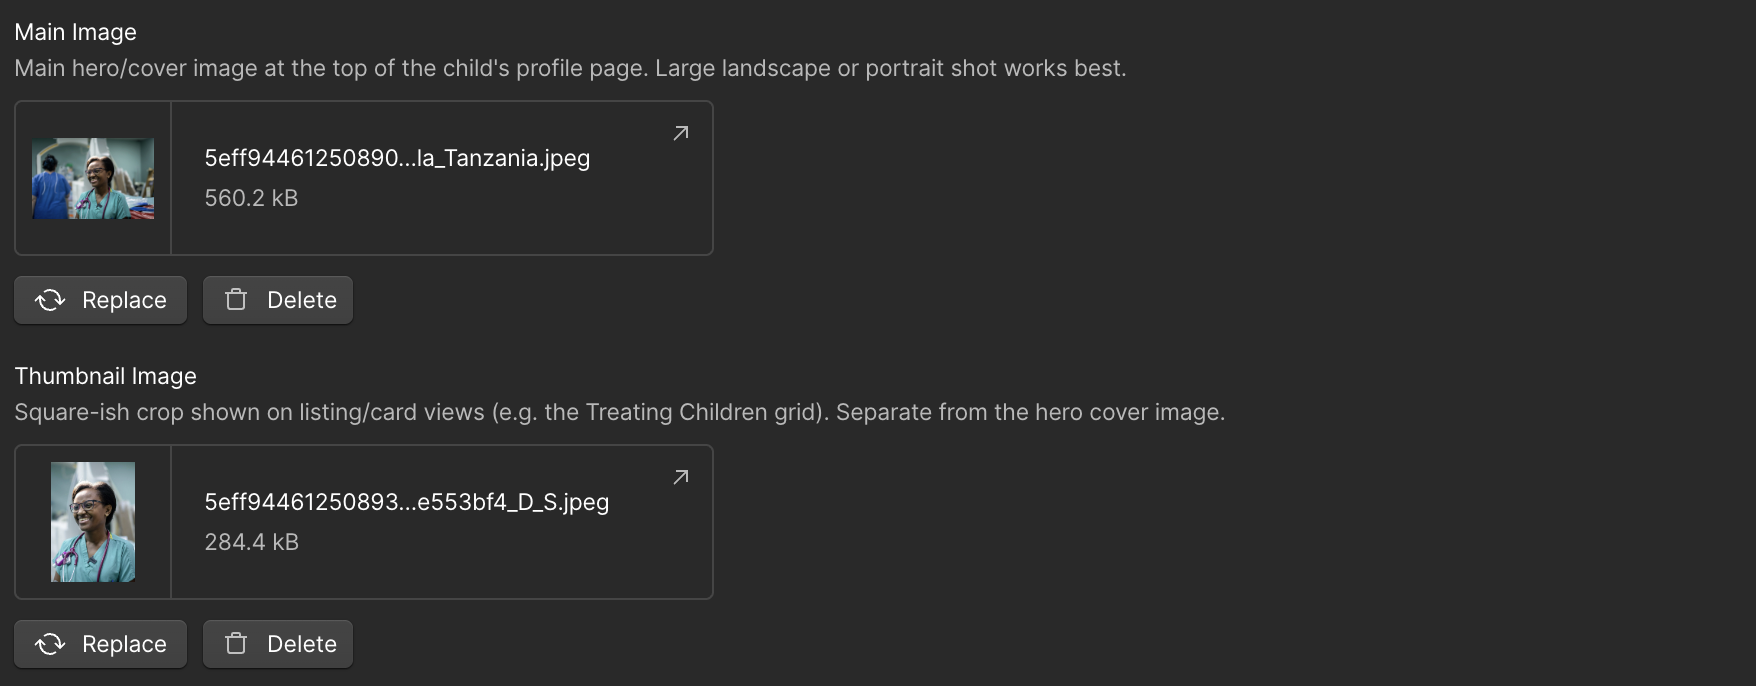
Upload both images:
Use a strong, clear image and check how each crop appears before publishing.
Use Profile Overview Description for a short one- or two-sentence introduction.

Use Overview Description when the introduction needs Rich Text formatting. The lead sentence can be formatted as a heading for the larger intro style.
Keep the introduction direct and explain who the person is and why their story matters.
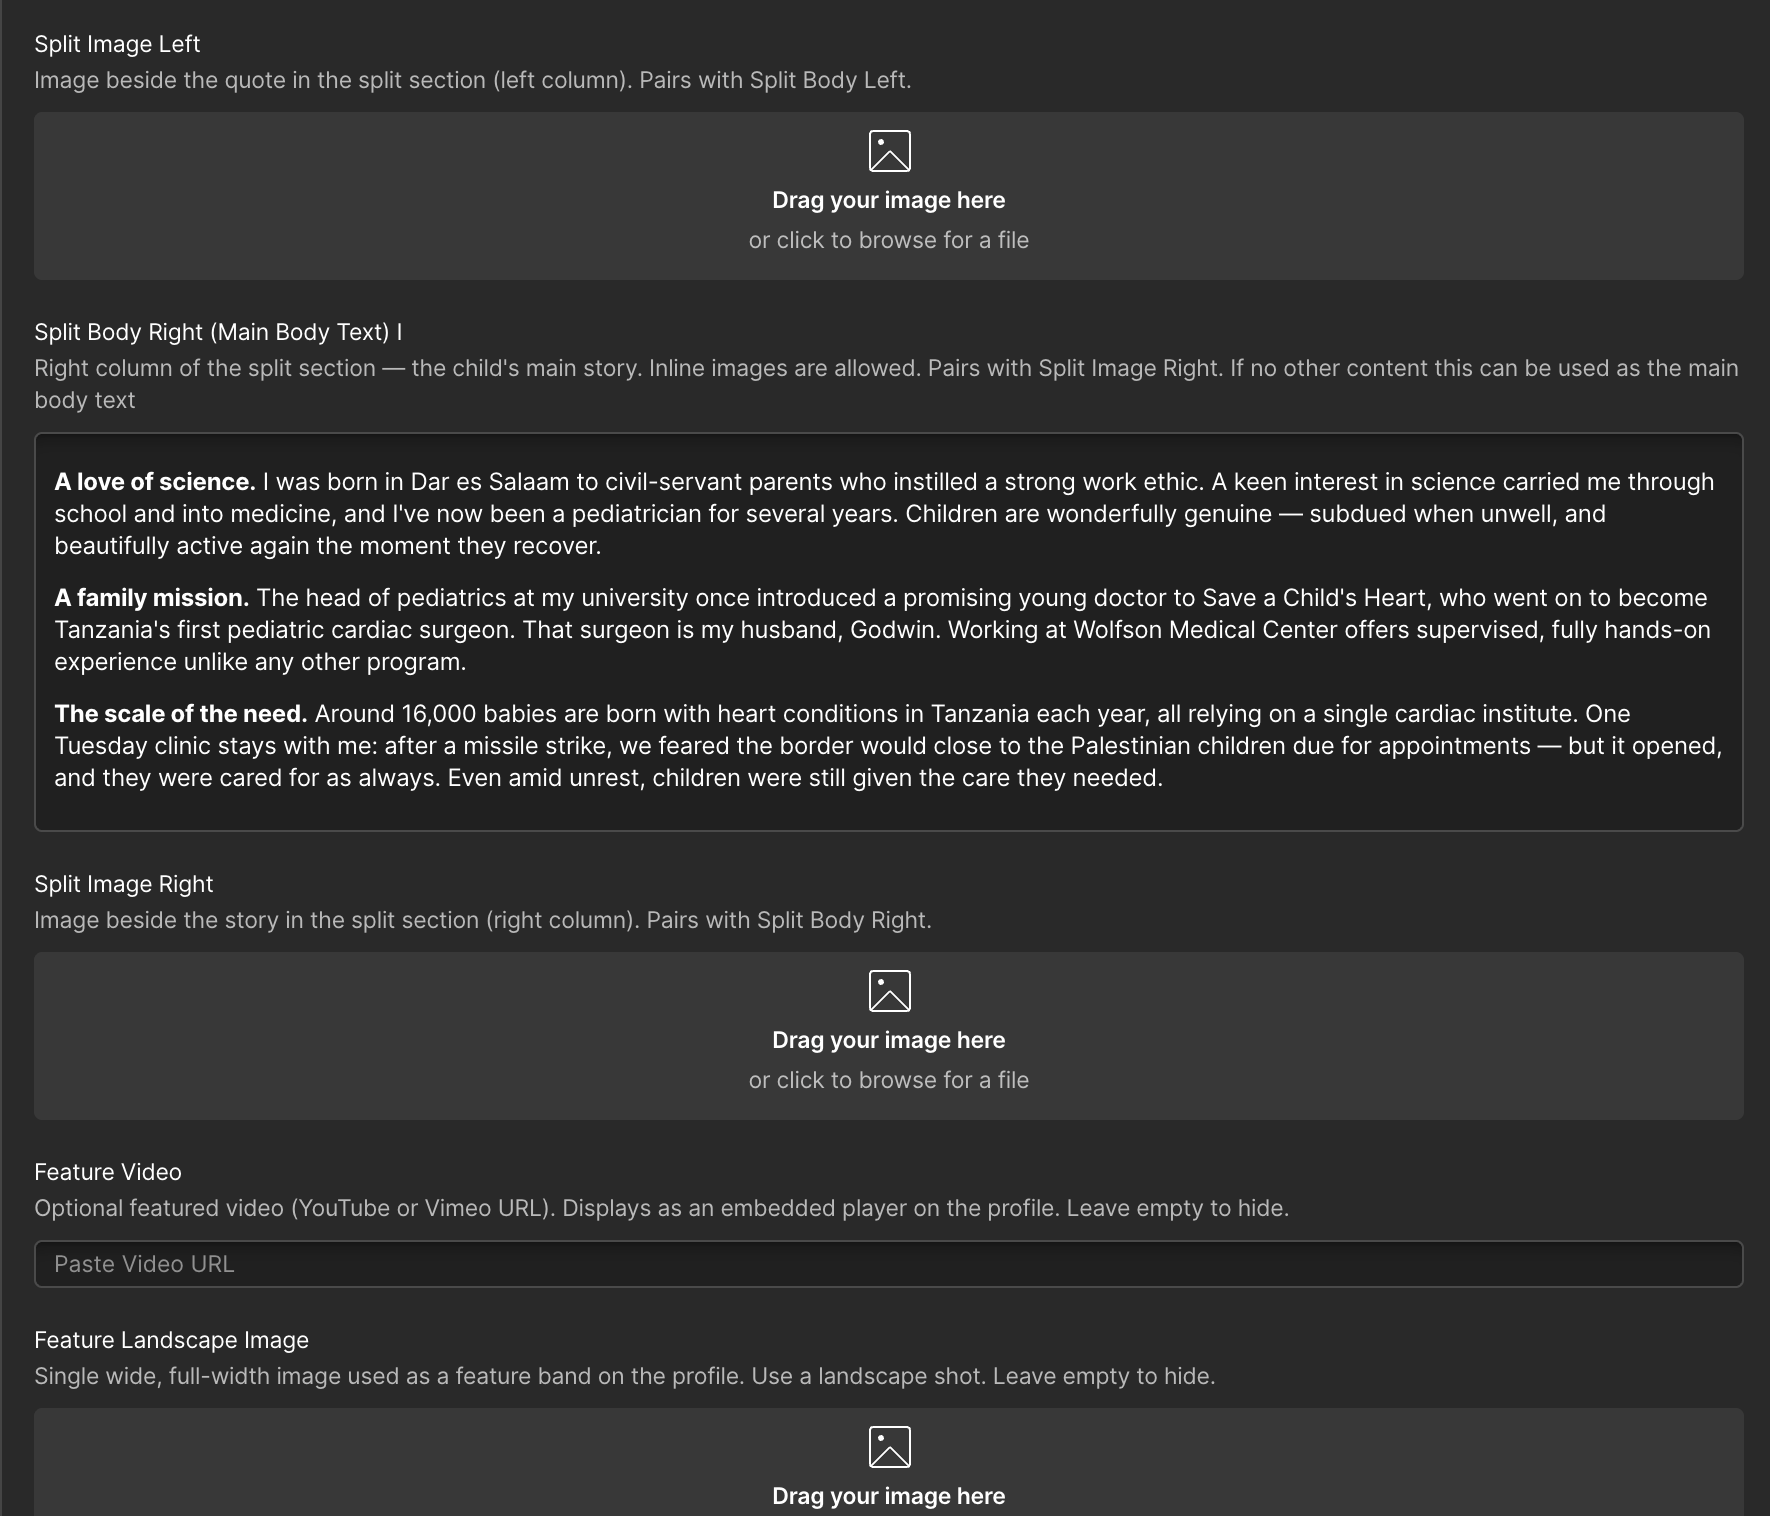
Use Split Body Right (Main Body Text) for the main profile story.
This Rich Text field supports paragraphs, headings, links, bold text, and inline images.
Use short paragraphs to keep longer stories easy to read.
Use these fields for the optional left side of the split section:
When a Split Quote Name is added, the content displays as a credited quote.
When no quote name is added, the section renders as regular supporting text.
Use Split Image Right beside the main story when needed.
Profiles can include optional media:
Leave unused media fields empty so those sections remain hidden.
Only one Image Slider should be connected to each Profile.
Editors can create it in either of these ways:
Name the slider clearly so it is easy to identify as belonging to the Profile.
Use this format:
Slider — Profile Name — Images
Example:
Slider — Bemnet — Images
After creating it:
Important: The slider is a separate CMS item and must be published before it can appear on the live Profile page.
Use Custom Donation Link only when the profile needs a specific donation destination. Leave it empty to use the website default.
The optional footer call-to-action uses:
Complete the related fields together, or leave them empty when no custom footer CTA is needed.
Turn on Feature Scrolling Marquee when the profile should appear in the homepage scrolling feature.
Turning it off removes the profile from the marquee but does not delete or unpublish it.
Confirm that:
6.0
Components are reusable sections. Edit instance properties carefully, and understand when a change affects one page or every instance.
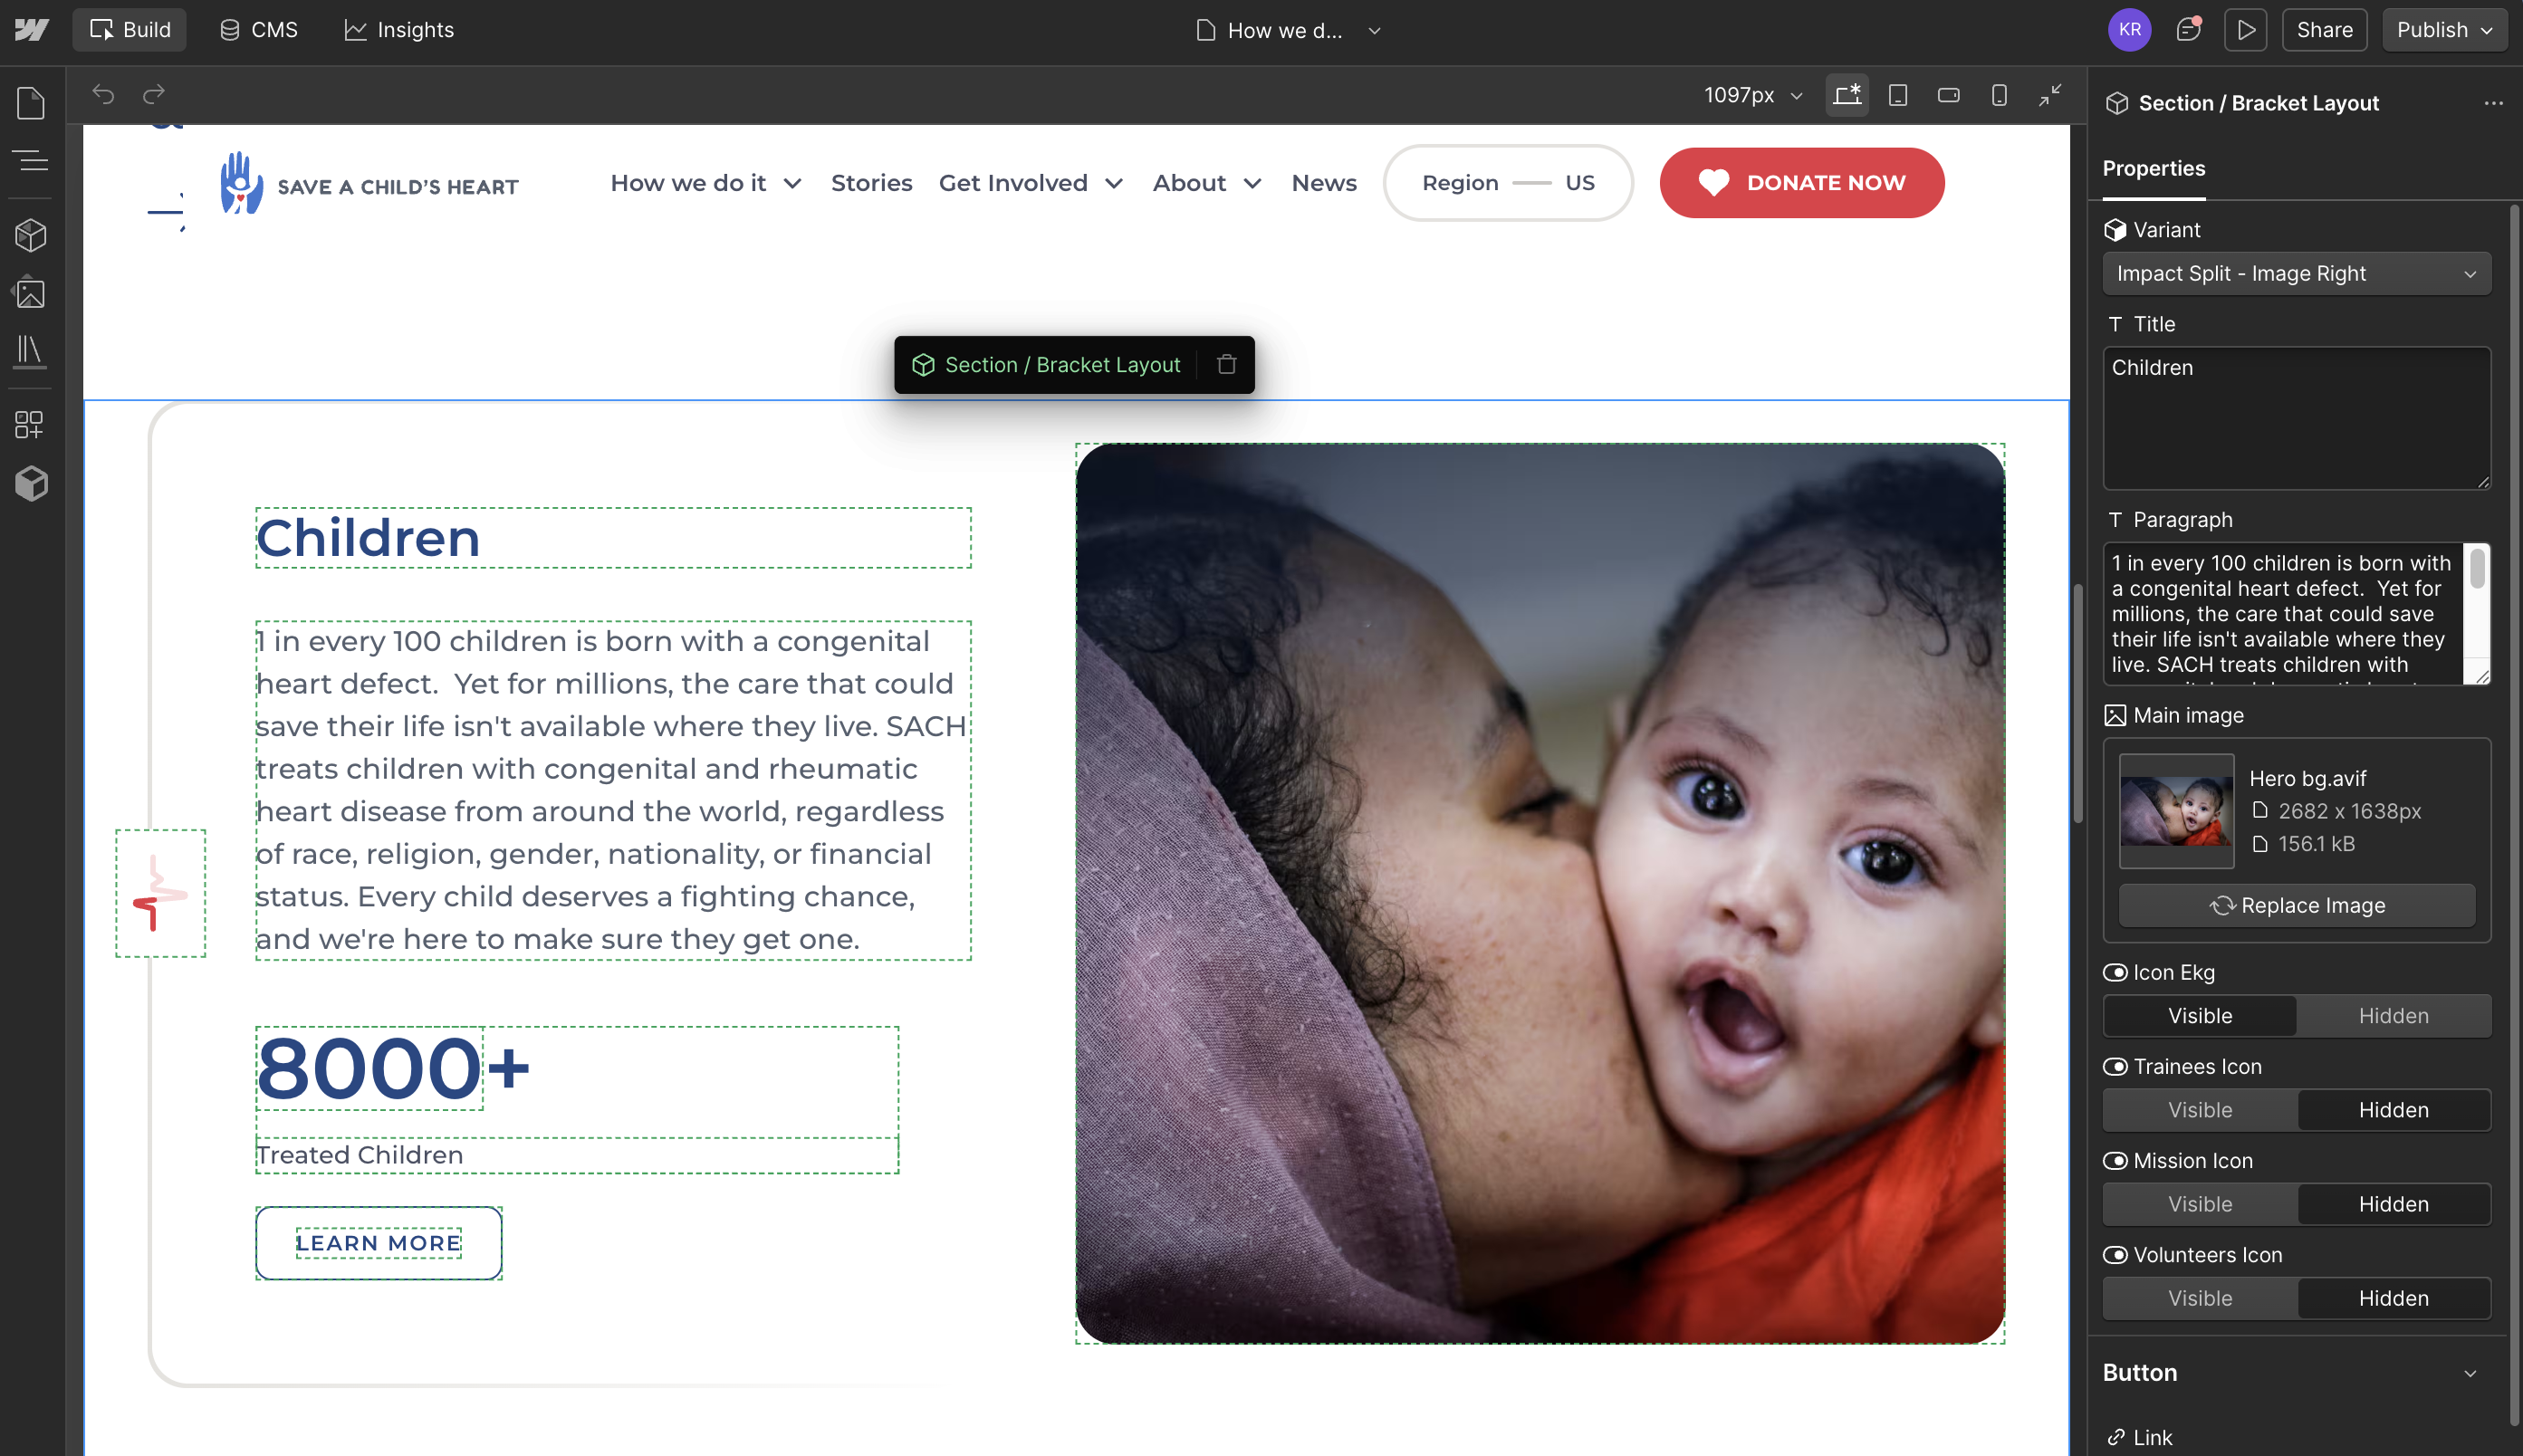
Properties may include:
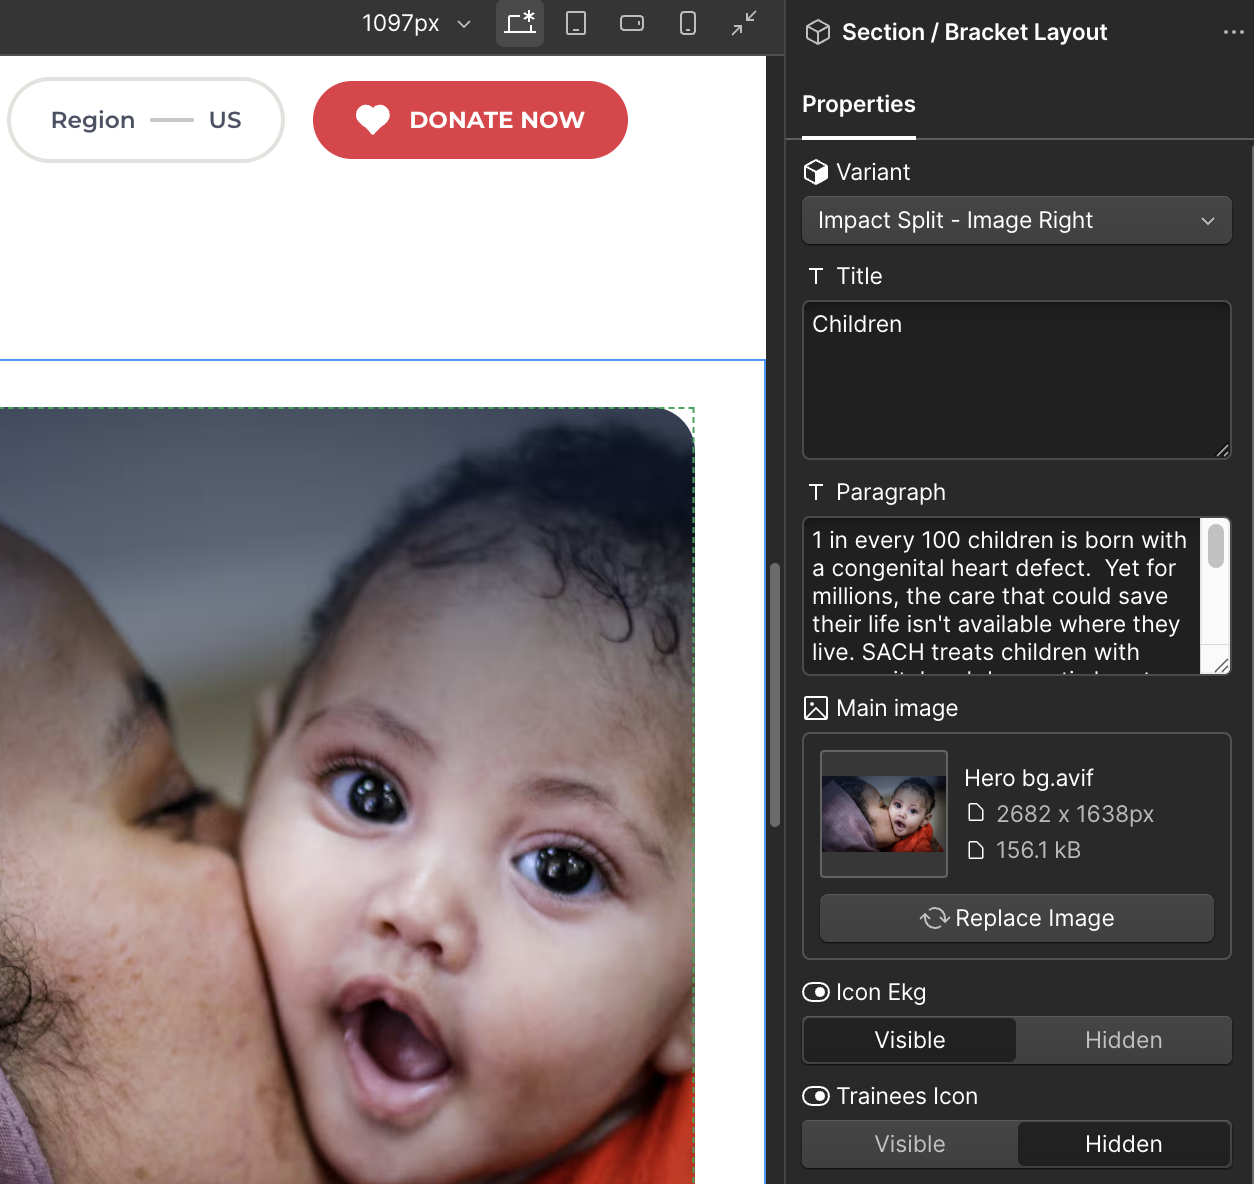
Changes made through the right panel normally affect only the selected component instance.
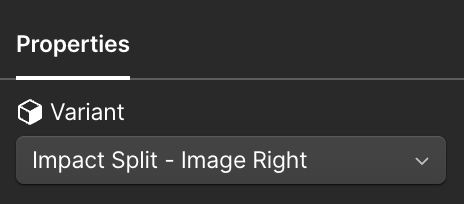
Some components include a variable or variation option.
Use the available selector to choose an approved:
Do not manually rebuild the component to create a different variation.
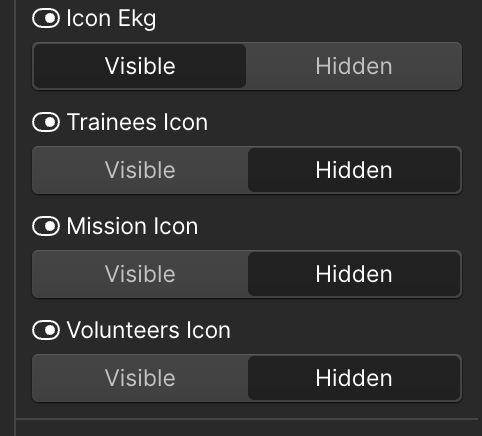
Some component properties include a visibility toggle.
Turn the toggle on to show the item.
Turn the toggle off to hide the item.
This may control:
Turning an item off does not delete the component.
Some optional items display only when their field contains content.
Leave the field completely blank when the item is not needed.
Do not add:
Any entered content may cause the item to appear.
Use Edit main component only when the default design or content should change everywhere.
Important: Changes to the main component may affect every instance across the website.
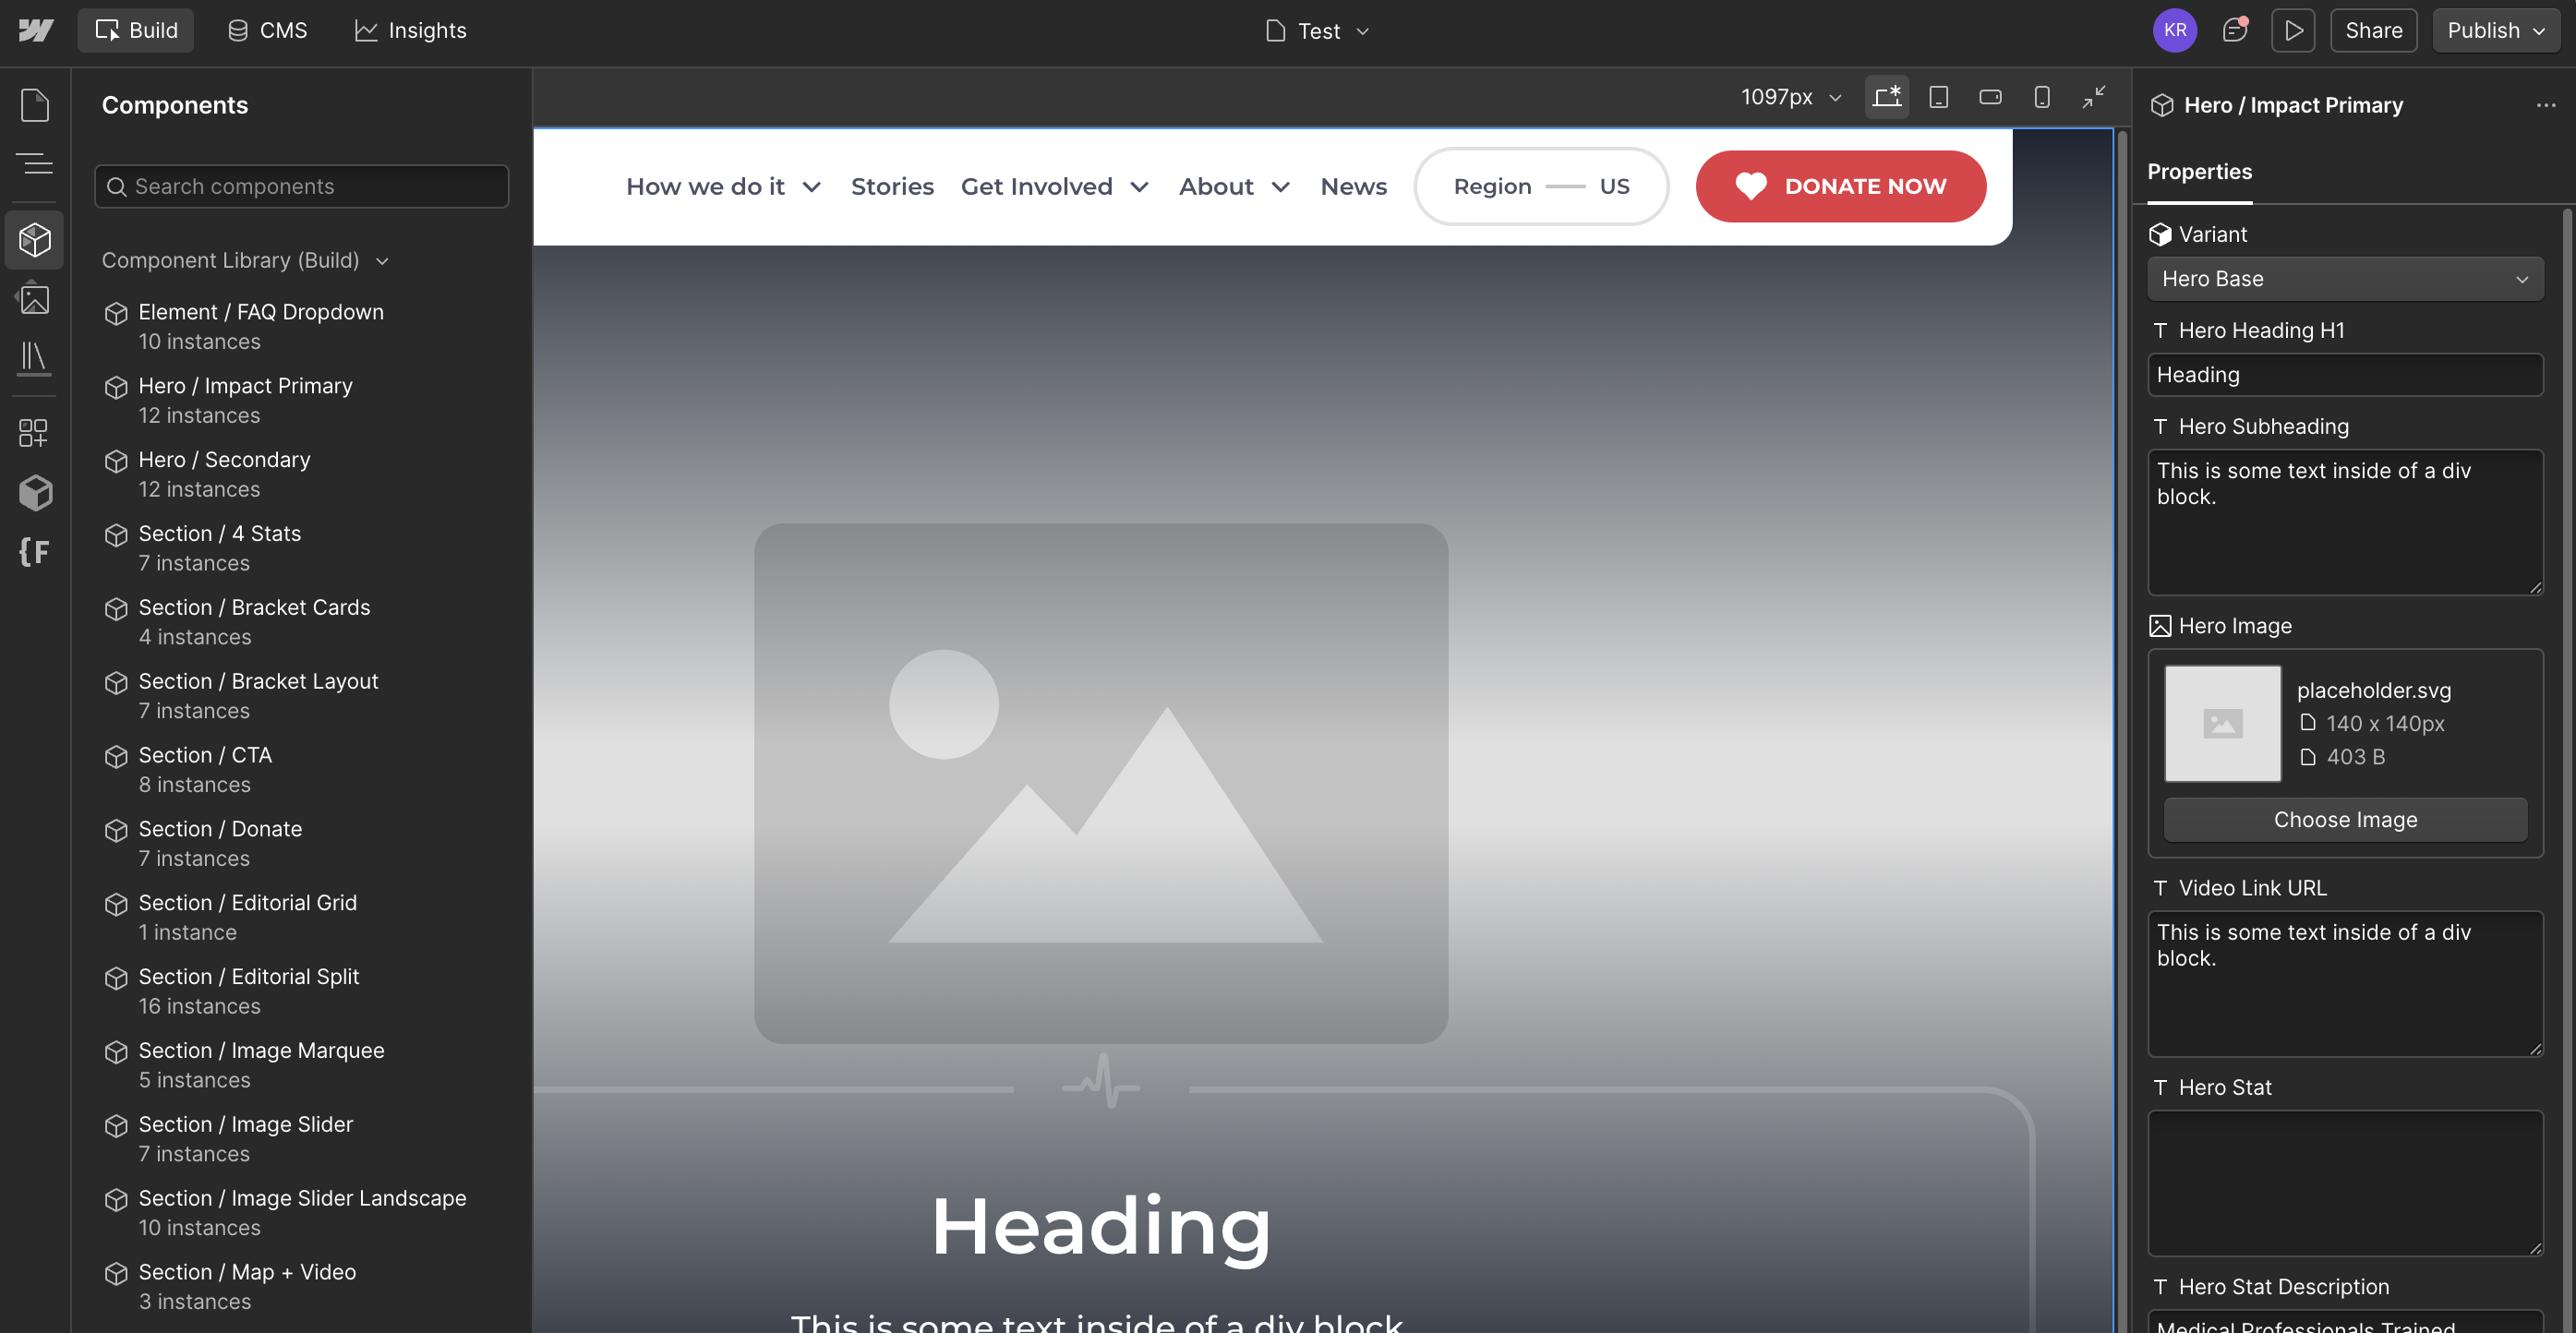
New components can only be added inside the designated Slot.
Only approved components can be placed inside the Slot.
Regular elements cannot be added directly to it.
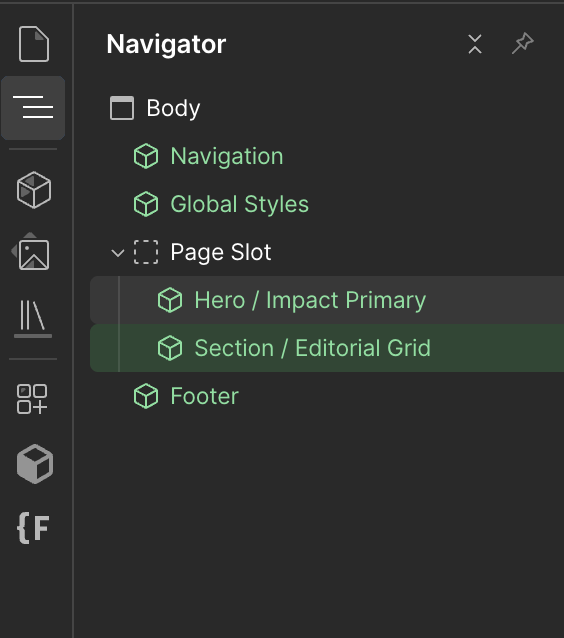
Components inside the Slot can be reordered when needed.
7.0
Upload appropriately sized images, check their crops, and provide meaningful alt text for accessibility.
Select the image and choose Replace image, or upload a file through the Assets panel. Use a clear file name, crop it for the intended layout, and avoid unnecessarily large files.
Use JPG or WebP for photographs. Use PNG only when transparency is needed. Check the image on desktop and mobile.
Alt text should briefly describe the important content or purpose of the image.
Example: A pediatric cardiologist examining a child at the Save a Child’s Heart hospital.
Avoid writing “image,” “photo,” a file name, a long paragraph, or nearby text word for word.
Mark an image as decorative, or leave its alt text empty where Webflow provides that option, only when it adds no meaningful information.
When replacing a CMS image, confirm that the crop works in both the full page and listing card, the alt text describes the new image, and the file is not stretched or pixelated.
8.0
Use page settings to manage search titles, descriptions, URL slugs, and social sharing previews.
Open the Pages panel and click the gear icon beside the page. Review the SEO title, meta description, URL slug, and Open Graph settings.
Write a clear title that identifies the page and organization. Example: Medical Missions | Save a Child’s Heart.
Write one short summary explaining what visitors will find on the page. Do not copy the page title into the description.
Keep slugs short, readable, and lowercase. Avoid changing a published slug unless necessary because existing links may break and a redirect may be required.
Add a clear title, short description, and approved landscape image for social sharing previews.
CMS template SEO settings usually pull information from each CMS item. Confirm that titles and descriptions remain connected to the correct Collection fields.
A template-level SEO change affects every item in that Collection. Custom code and advanced indexing settings should normally be left to the Designer or developer.
09
Publishing makes approved website and CMS changes visible to visitors. Preview first and confirm the correct publishing option.
Saving a change in Webflow does not always make it live. Content can remain a draft, be queued for the next site publish, publish immediately, or be scheduled for later when available.
Use the menu beside the CMS save button. Create draft saves without publishing. Publish now makes the item live immediately. Queue for next site publish includes it in the next full publish.
Connected items such as Image Sliders and Video Sliders must be published separately before they can appear on a live Story, Mission, or Profile.
Publishing the main CMS item does not automatically publish a connected slider that remains in draft.
Use the Publish button in the top-right corner, confirm the correct domains, and publish approved changes. A full publish may include static pages, components, queued CMS items, templates, and SEO updates.
Check text, links, images, alt text, responsive layouts, CMS references, optional sections, SEO settings, and connected sliders. Preview the page before making it live.
9.0
Connect an approved AI assistant to Webflow for guided content, CMS, SEO, and marketing tasks.
Use an approved company account. A Workspace owner, Workspace admin, or Site manager may need to authorize access. Connect only the site required for the task.
Open ChatGPT, install or open the Webflow app, sign in with Webflow, choose the approved site or Workspace, and authorize access. Start the conversation by selecting Webflow or mentioning @Webflow when available.
Open Claude, open Connectors, select Webflow, sign in, choose the approved site or Workspace, and authorize access. Confirm that the Webflow connector is active before starting the task.
Once connected, add the sach-webflow-guide skill (Settings → Capabilities → Skills, or Customize → Skills). It gives the assistant this site's CMS field structure, editing rules, and Editor/Marketer scope limits automatically, so none of it needs to be re-explained in every conversation.
Name the website, page, Collection, or CMS item. State what may be changed, what must not be changed, and whether the work should remain a draft.
Example: Review the Profiles Collection fields and explain the recommended updates.
Do not make changes yet.
Use the connection for approved tasks such as drafting CMS content, updating existing copy, reviewing links, checking alt text, preparing SEO titles and descriptions, and updating approved component properties.
Confirm the correct site, page, Collection, and requested action. Do not approve deletion, structural changes, bulk updates, or publishing unless they were specifically requested and reviewed.
Ask the assistant to save new content as a draft when review is required. Preview all changes in Webflow before publishing.
The AI assistant works through the connected user’s Webflow permissions. Editors and marketers should stay within their assigned access and request approval for structural or publishing changes.
10.0
Most content issues come from unpublished items, empty fields, incorrect references, or edits made in the wrong place.
Confirm that the CMS item is published, any connected slider is also published, required fields contain content, the item is not archived, and the site has been published after the change.
Many sections use conditional visibility. A section remains hidden when its related field is empty, such as a slider, video, quote, PDF, image, or call to action.
Check that the correct CMS reference was selected. Use clear slider names such as Slider — Page Name — Images or Slider — Page Name — Videos.
The main component may have been edited instead of one instance. Review other instances and use component properties when only one page should be different.
CMS templates control every item in their Collection. Edit item-specific content inside the CMS item rather than changing the shared template.
Check image crop, aspect ratio, file size, thumbnail versus main image, mobile layout, link destination, published status, and whether the URL points to an old slug.
Do not delete elements, remove bindings, or change custom code as a shortcut. Record the page name, CMS item, screenshot, expected result, and current result for the Designer or developer.